Tangle patterns › Hollibaugh
How to Draw Hollibaugh, Step by Step
Hollibaugh is a pile of straight bands that cross over and under each other, with the gaps filled black. The trick is that every new band goes behind the ones already drawn, which gives it surprising depth.
Step 1 of 4
Draw one band across the area: two parallel lines.
Watch it draw stroke by stroke, pause on any step, then try it yourself on paper.
Hollibaugh step by step
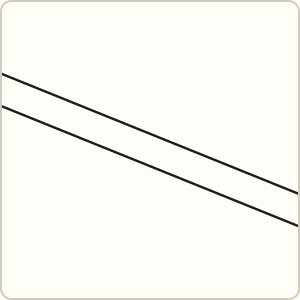 Step 1
Draw one band across the area: two parallel lines.
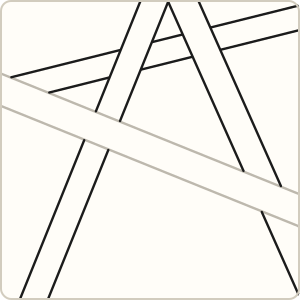 Step 2
Add more bands at different angles; each new band stops where it meets an earlier band and continues on the other side, so it looks tucked behind.
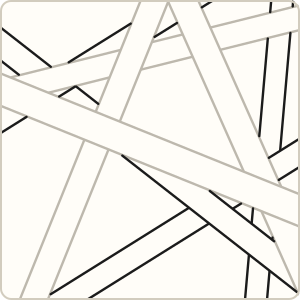 Step 3
Keep adding bands behind the others until only small gaps remain.
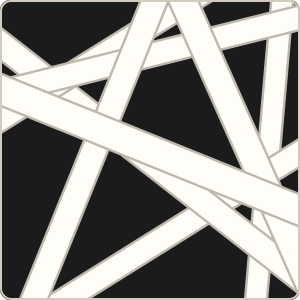 Step 4
Fill all the gaps between bands with black.
Tips for a neat Hollibaugh
- Never let a new band cross over an old one; always stop the line at the old band's edge.
- Vary the angles and widths a little so the bands do not look like a grid.
- Fill the small triangles first; they are easiest to miss.
Variations to try
- Add a thin line down the middle of each band.
- Shade each band with pencil where it disappears behind another.
 Printemps
 Tipple
 W2
W2 Keeko
Keeko Ahh
Ahh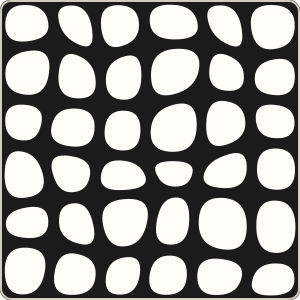 'Nzeppel