Zentangle patterns › Warre
Warre Zentangle® Pattern: How to Draw It Step by Step
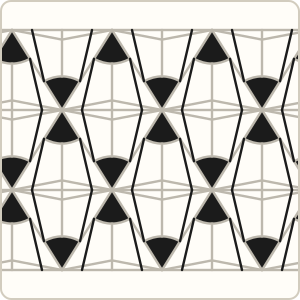
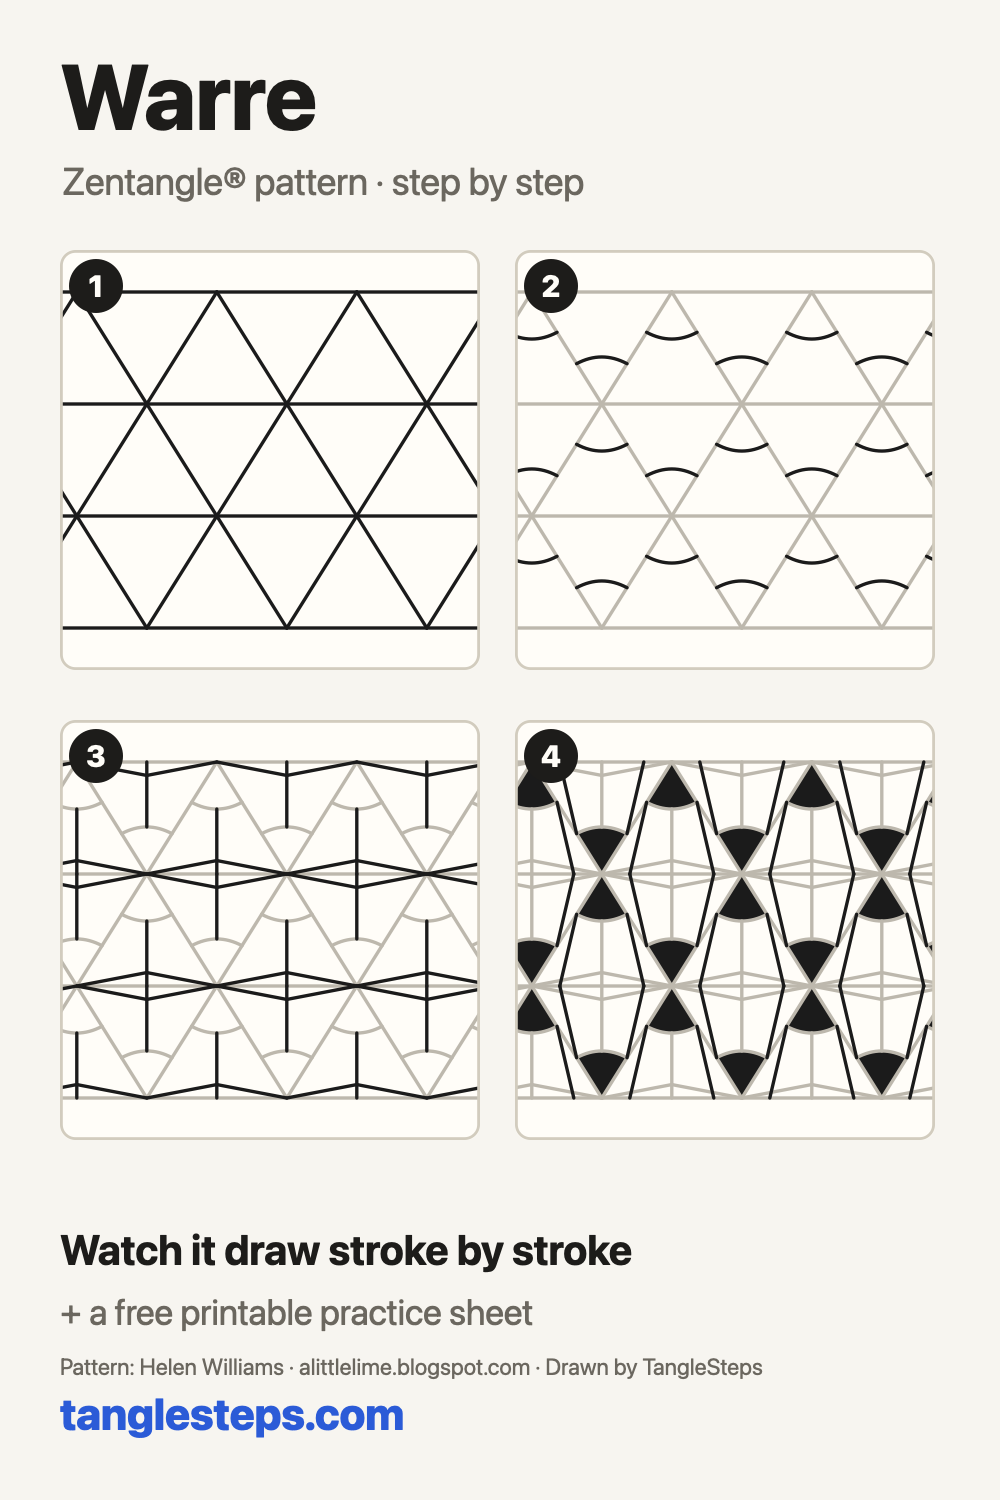
Warre turns a triangular grid into repeating capped, segmented shapes. Helen Williams developed it alongside Queen B. Curved caps, central divisions and narrow base diamonds create a structure that can be shaded like folded surfaces.
Pattern by Helen Williams. Drawing and step explanations by TangleSteps.
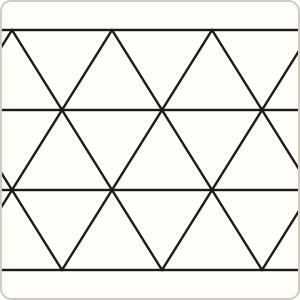
Draw rows of connected triangles, alternating upward and downward points.
Watch it draw stroke by stroke, pause on any step, then try it yourself on paper.
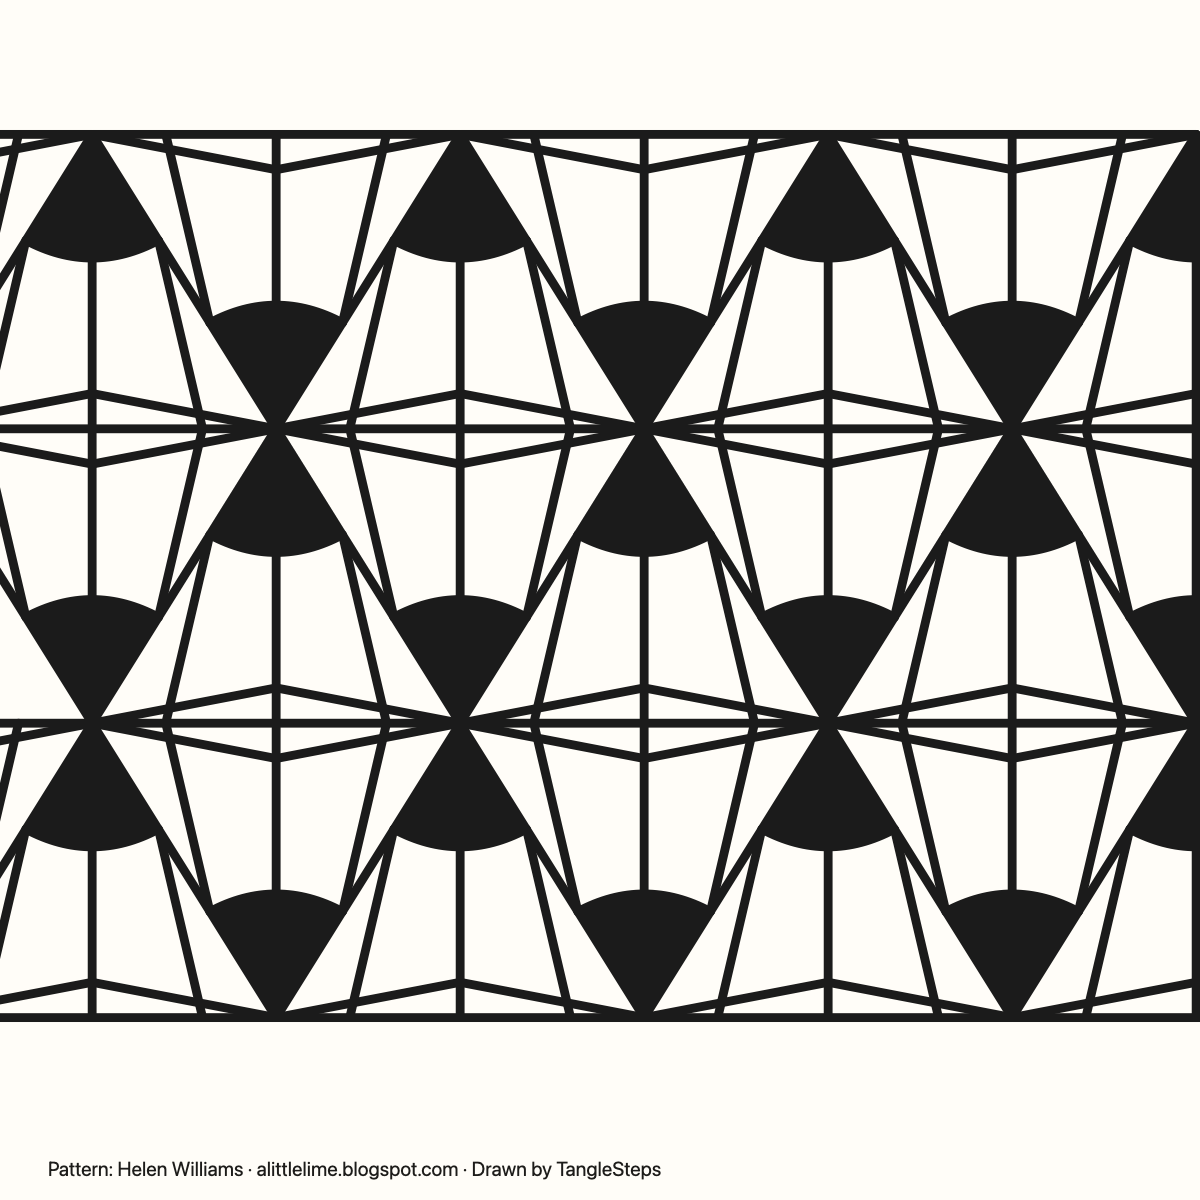
Warre step by step
 Step 1
Draw rows of connected triangles, alternating upward and downward points.
 Step 2
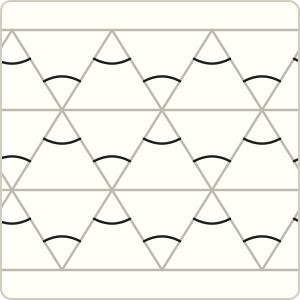
Inside each triangle, draw a curved cap across the pointed end.
 Step 3
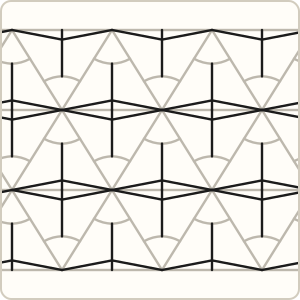
Connect the middle of each cap to the middle of its base. Add a shallow V along the base to make narrow diamonds between rows.
 Step 4
Draw a line from each end of the cap toward the base. Fill the caps black for this bold version, or leave them open for pencil shading.
Common Warre mistakes and how to fix them
- The caps are all different sizes. Place their endpoints at similar distances along the two sides.
- The center line runs through the cap. Begin it on the arc, leaving the cap itself intact.
Tips for a neat Warre
- Keep each cap at a similar distance from its pointed tip.
- Start the central division on the cap so it does not run through the filled area.
- Leave the larger facets white to contrast with the dark caps.
Warre variations
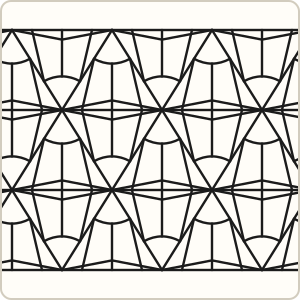
- Try alternating light and dark facets with pencil instead of filling the caps.
Tangles that pair well with Warre
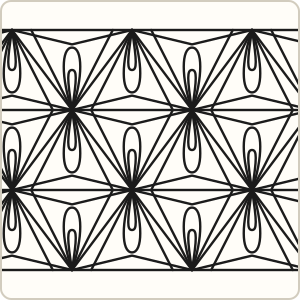 Queen B curved loops soften the angular facets
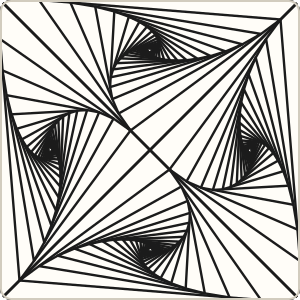 Paradox straight-line depth beside triangular divisions
 Flux organic shapes against the geometric structure
Warre step-out chart
All the steps on one image, handy for a sketchbook or a classroom wall.
More tangles to learn
 Hearts & Diamonds
 Trumpets
 Cubine
 Tripoli
 Jonqal
 BeeLine
Page updated .