Zentangle patterns › Easy patterns for beginners
Easy Zentangle® Patterns for Beginners
Ten easy tangles to learn first, in the order we suggest: Crescent Moon, Tipple, Printemps and seven more. Each one adds a single new idea, and every pattern has an animated step-by-step page and a practice sheet.
One tile · three simple patterns
Make your first Zentangle-inspired tile
Start with one small square, a pen and a pencil. We will fill three sections together, then add a little optional shading. Follow at your own pace; your lines can look different from ours.
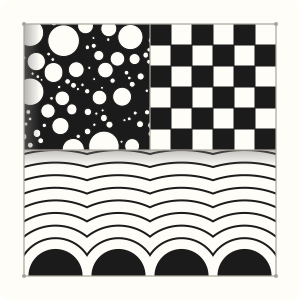
1. Set up your paper
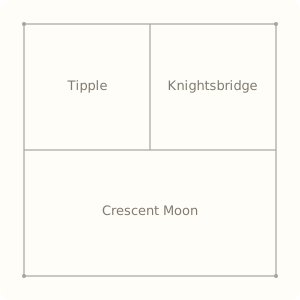
Use a small square of paper, a fine black pen and a pencil. Lightly mark four corner dots, join them into a border, then draw a horizontal pencil string and a short vertical one in the top half. The three sections can be uneven.
2. Fill the bottom: Crescent Moon
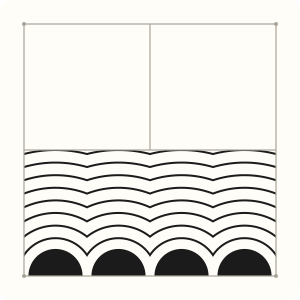
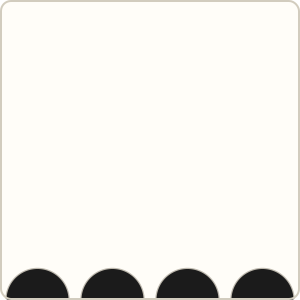
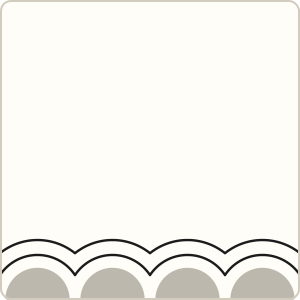
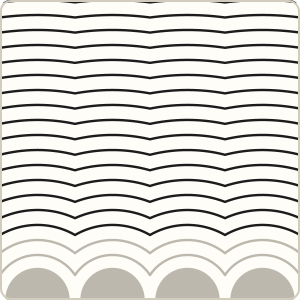
In the bottom section, draw a row of half circles along the bottom border. Fill them black, then echo their curves with auras until the section is full. Stop at the pencil string; turn your paper whenever it helps.
Follow the Crescent Moon close-up, one step at a time
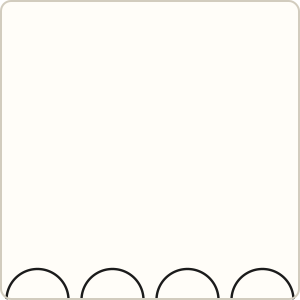
Along one edge, draw a row of half circles that touch the edge at both ends.
Play one step, draw it on your paper, then take the next. The close-up shows the pattern on a whole tile; fit it into your section.
3. Fill the top left: Tipple
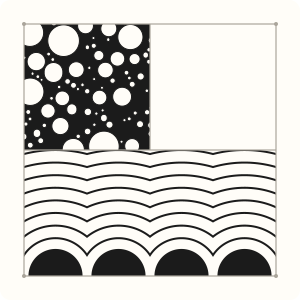
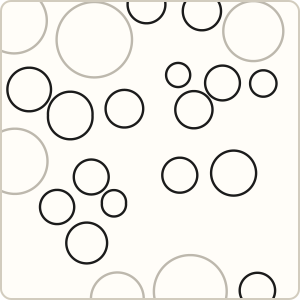
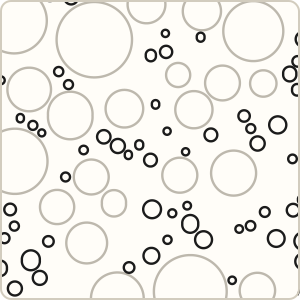
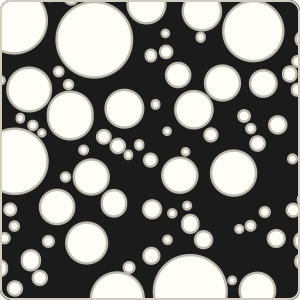
In the top-left section, draw a few large circles, then smaller circles in the gaps. You can leave the smallest gaps white, or fill them black as in this example. Your circles do not have to be perfect.
Follow the Tipple close-up, one step at a time
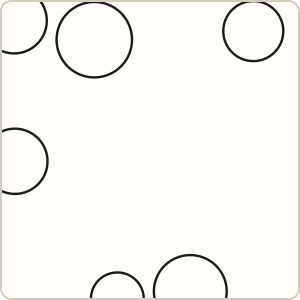
Draw a few larger circles scattered across the area.
Play one step, draw it on your paper, then take the next. The close-up shows the pattern on a whole tile; fit it into your section.
4. Fill the top right: Knightsbridge
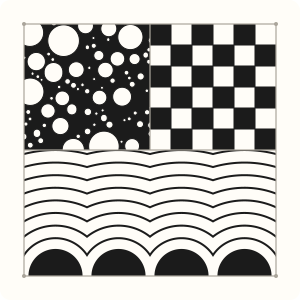
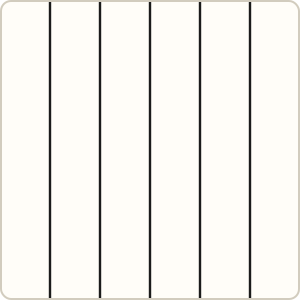
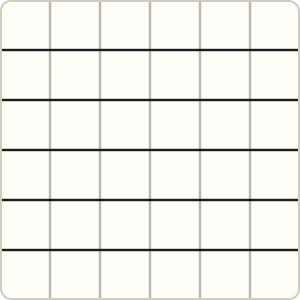
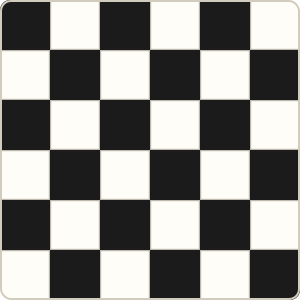
In the top-right section, draw a few parallel lines, cross them with another set, then fill alternate squares black. Keep the squares fairly large so they are comfortable to fill.
Follow the Knightsbridge close-up, one step at a time
Draw evenly spaced lines in one direction across the section.
Play one step, draw it on your paper, then take the next. The close-up shows the pattern on a whole tile; fit it into your section.
5. Shade, turn and enjoy
With a pencil, add a little graphite just below the horizontal string and inside the left border of the Tipple section. Soften it into the white paper with a blending stump or a scrap of paper. Rotate your tile, choose the view you like, then add your initials and the date. You can also leave it unshaded.
10 easy zentangle patterns, in learning order
- 1
Crescent Moon · 4 steps
Teaches: curves and auras, the echo line used in dozens of tangles. Along one edge, draw a row of half circles that touch the edge at both ends.
- 2
Tipple · 4 steps
Teaches: orbs, and filling the background black around them. Draw a few larger circles scattered across the area.
- 3
Printemps · 4 steps
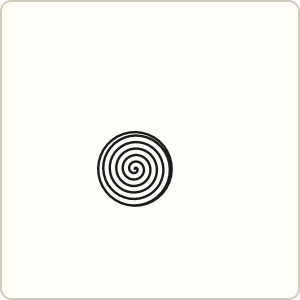
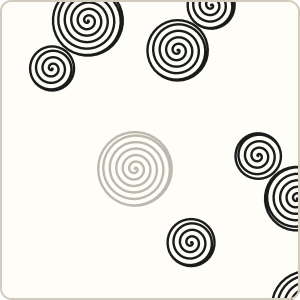
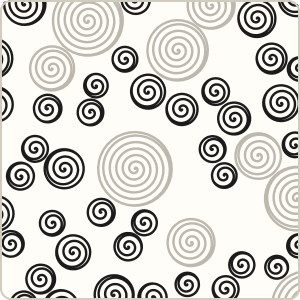
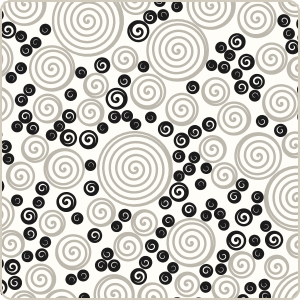
Teaches: tight spirals that fit into any leftover space. Start in the middle of a spiral and wind outward two or three turns, then close it with one loop around the outside.
- 4
Knightsbridge · 3 steps
Teaches: a simple grid and a bold checkerboard fill. Draw evenly spaced lines in one direction across the section.
- 5
Static · 3 steps
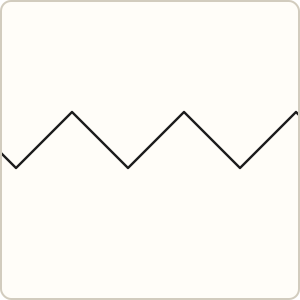
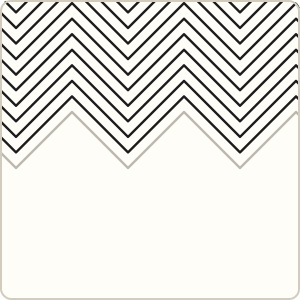
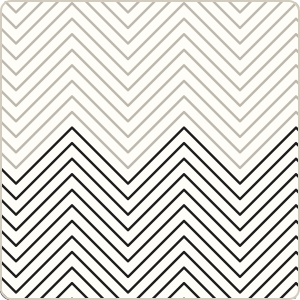
Teaches: a zigzag echoed over and over. Draw one zigzag across the widest part of the section.
- 6
SeZ · 3 steps
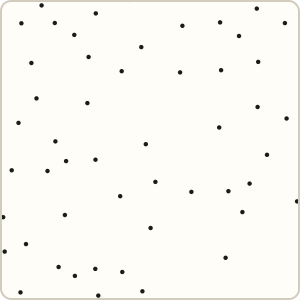
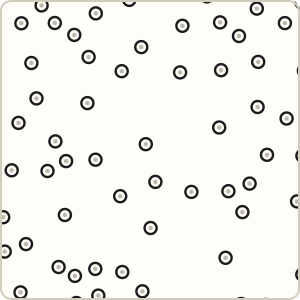
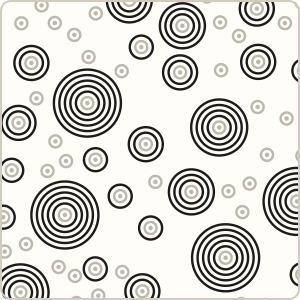
Teaches: rings around a dot, stopping before they touch. Scatter small black dots, the seeds, over the section.
- 7
Florz · 4 steps
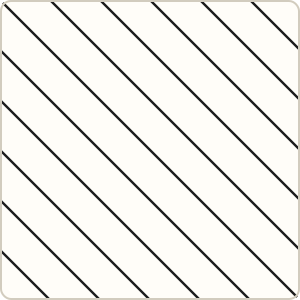
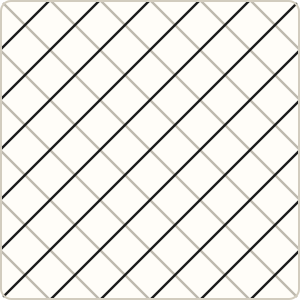
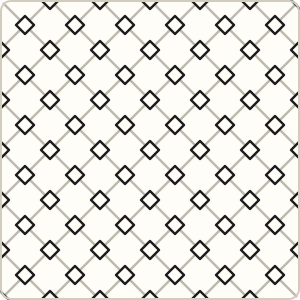
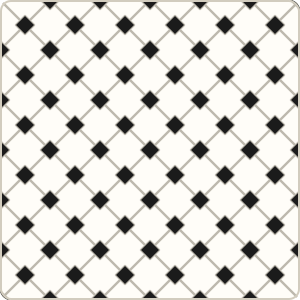
Teaches: a diagonal lattice with small diamonds. Draw evenly spaced diagonal lines in one direction.
- 8
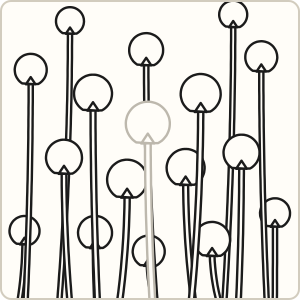
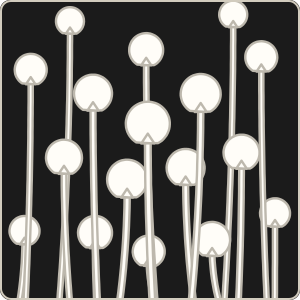
Pokeroot · 4 steps
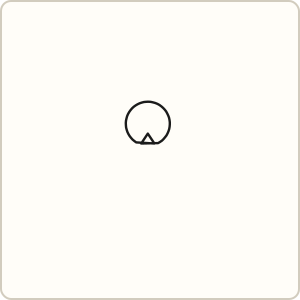
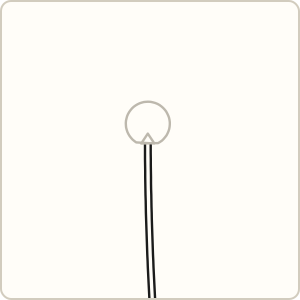
Teaches: drawing behind: new shapes tuck behind earlier ones. Draw one berry: a round shape with a small V-shaped notch at the bottom.
- 9
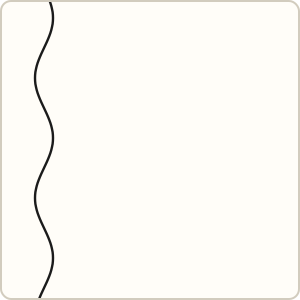
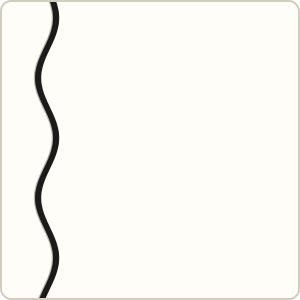
Diva Dance · 4 steps
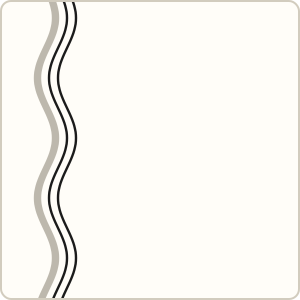
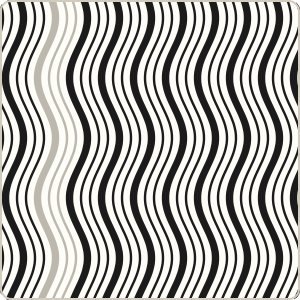
Teaches: keeping a rhythm: one thick wave, two thin. Draw a wavy line from one edge of the section to the other.
- 10
Flux · 3 steps
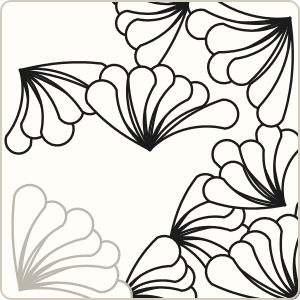
Teaches: fanning lobes from one point. Start at a corner or on a string: draw one lobe, a curved stalk that widens into a round head.


More beginner tangles
Once the ten feel easy, these use the same basic strokes in new ways.
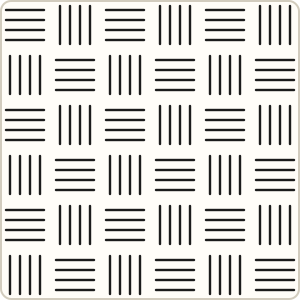 Keeko3 steps · calm, basket-weave fillers
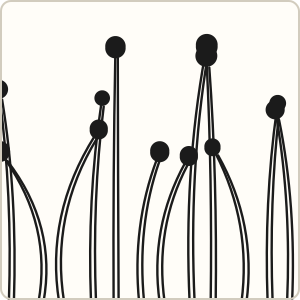 Fescu4 steps · edges, corners and plant-like accents
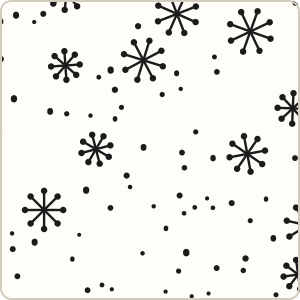 Ahh4 steps · sprinkling sparkle into open space
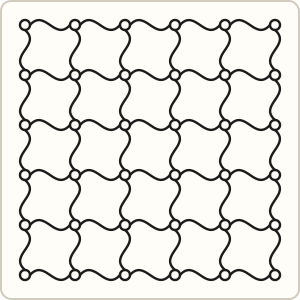 Cadent3 steps · flowing grid sections
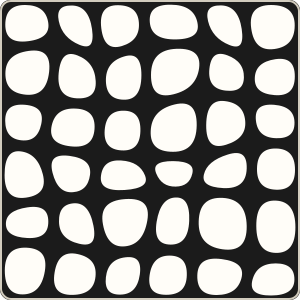 'Nzeppel4 steps · pebbly, cobblestone backgrounds
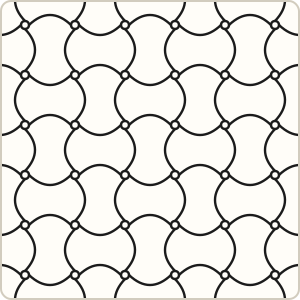 Huggins3 steps · large sections that need a calm texture
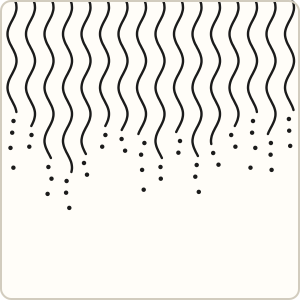 Msst3 steps · the top edge of a section
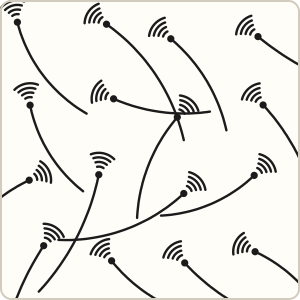 Zinger4 steps · accents, empty corners and the space between other tangles
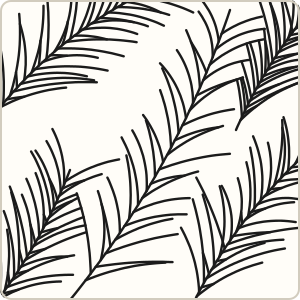 Verdigogh3 steps · large areas that need a natural, leafy texture
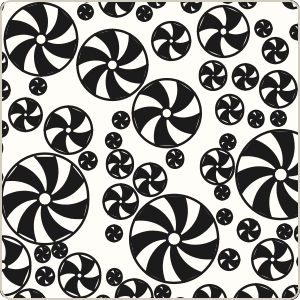 Pepper4 steps · scattering across a section or filling the gaps around larger tangles
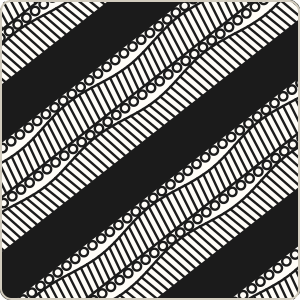 Meer4 steps · bands, borders and long diagonal sections
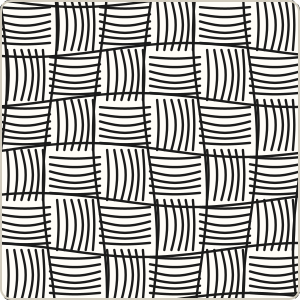 Yincut4 steps · square sections and grids that need a soft, padded look
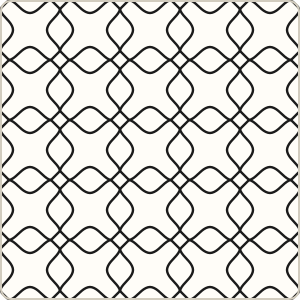 Oof4 steps · square sections and backgrounds that suit a window-like lattice
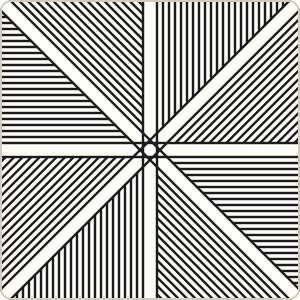 Hurry4 steps · square tiles and sections with a clear centre
Questions
What is the easiest zentangle pattern?
Crescent Moon and Tipple are the usual first tangles: one is a row of half circles with echo lines, the other is a cluster of small circles. Neither needs any planning, and both look good in any section.
How many patterns should a beginner learn first?
Three or four is plenty to fill a tile. Learn one, repeat it a few times, and add the next. The order above adds one new idea at a time.
What pen do I need?
Any fine black pen that does not smudge, around 0.25–0.5 mm. A pencil for the string and for shading is the only other tool.
Are these patterns good for kids?
Yes. The first five in the list use only circles, lines and curves, and the practice sheets give children ready-made squares to fill.