Zentangle patterns › SeZ
SeZ Zentangle® Pattern: How to Draw It Step by Step
SeZ grows from seeds: scatter small dots over the section, then draw rings around each one, adding ring after ring until the rings of neighbouring seeds nearly touch. It is an original Zentangle tangle, introduced in the founders' December 2008 newsletter.
Step 1 of 3
Scatter small black dots, the seeds, over the section.
Watch it draw stroke by stroke, pause on any step, then try it yourself on paper.

SeZ step by step
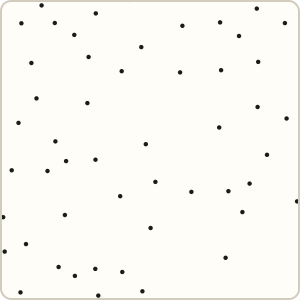 Step 1
Scatter small black dots, the seeds, over the section.
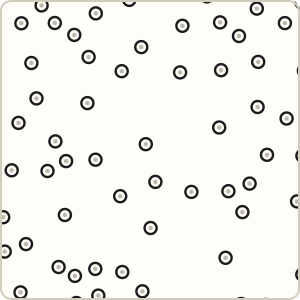 Step 2
Draw a small ring around each seed.
 Step 3
Keep adding rings around each seed, stopping before they touch the rings of their neighbours.
Common SeZ mistakes and how to fix them
- Rings from two seeds run into each other. Stop adding rings to a seed one gap before they would touch.
- Seeds are spaced like a grid. Scatter them unevenly so the ring sets come out in different sizes.
Tips for a neat SeZ
- Put a few seeds close together and leave others alone, so some grow big and some stay small.
- Keep the gap between rings the same throughout.
- Stop a set of rings as soon as it would touch another set.
SeZ variations

- Squash the rings into ovals for a woodgrain look.
Tangles that pair well with SeZ
 Tipple another round filler for the gaps
 Hollibaugh straight bands cut across the round rings
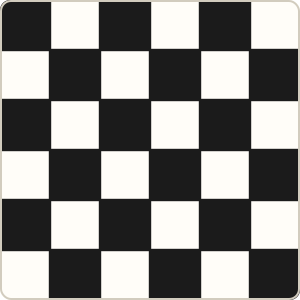 Knightsbridge a crisp grid next to soft rings
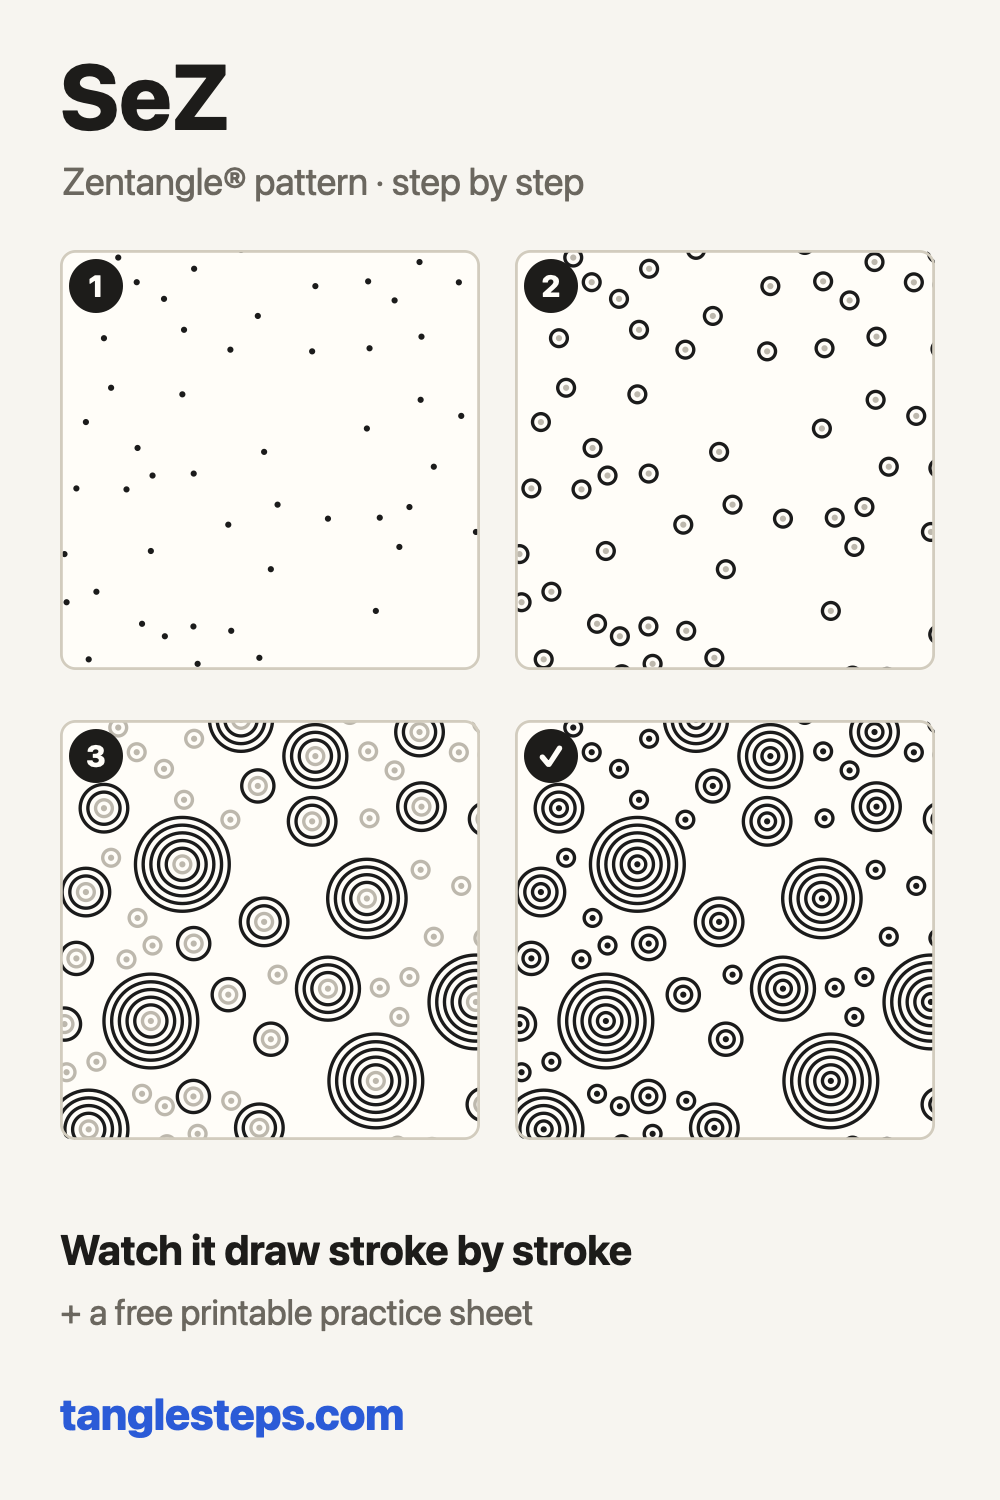
SeZ step-out chart
All the steps on one image, handy for a sketchbook or a classroom wall.
More tangles to learn
 Printemps
 Shattuck
 Flux
 Pokeroot
 Diva Dance
 Verdigogh
Page updated .