Zentangle patterns › Verdigogh
Verdigogh Zentangle® Pattern: How to Draw It Step by Step
Verdigogh looks like a pine branch: a curving stem with needles growing from both sides, layered thicker and thicker. Each new layer of needles is drawn behind the ones already there. It is an original Zentangle tangle, first shown in the founders' April 2008 newsletter next to a photo of a pine branch.
Draw a long, gently curving stem.
Watch it draw stroke by stroke, pause on any step, then try it yourself on paper.
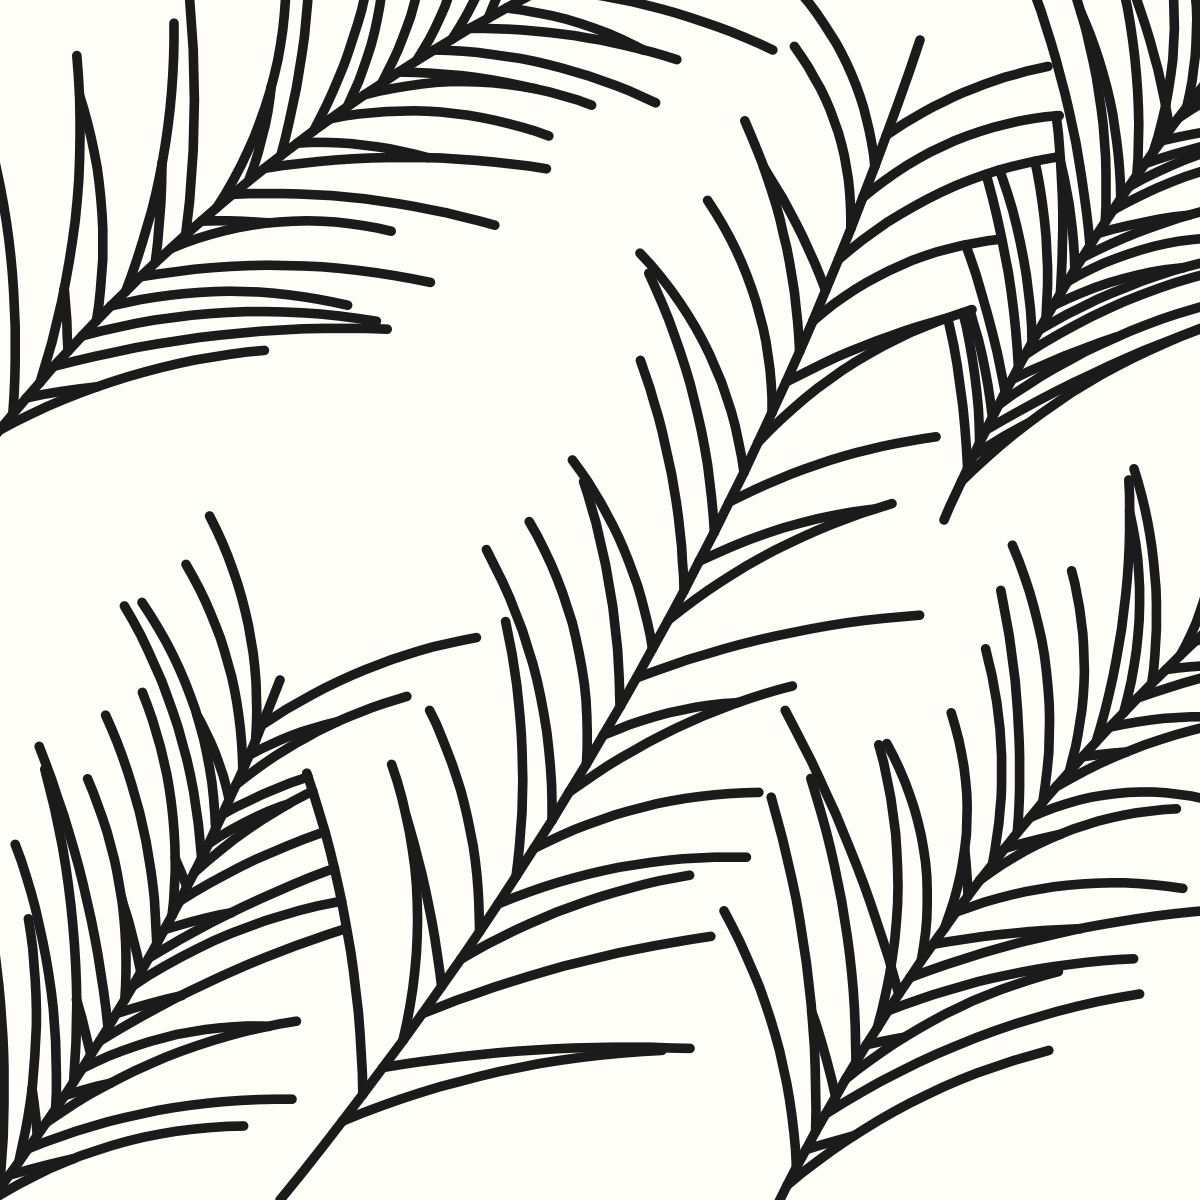
Verdigogh step by step
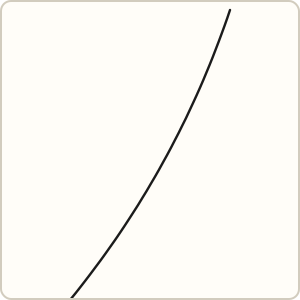 Step 1
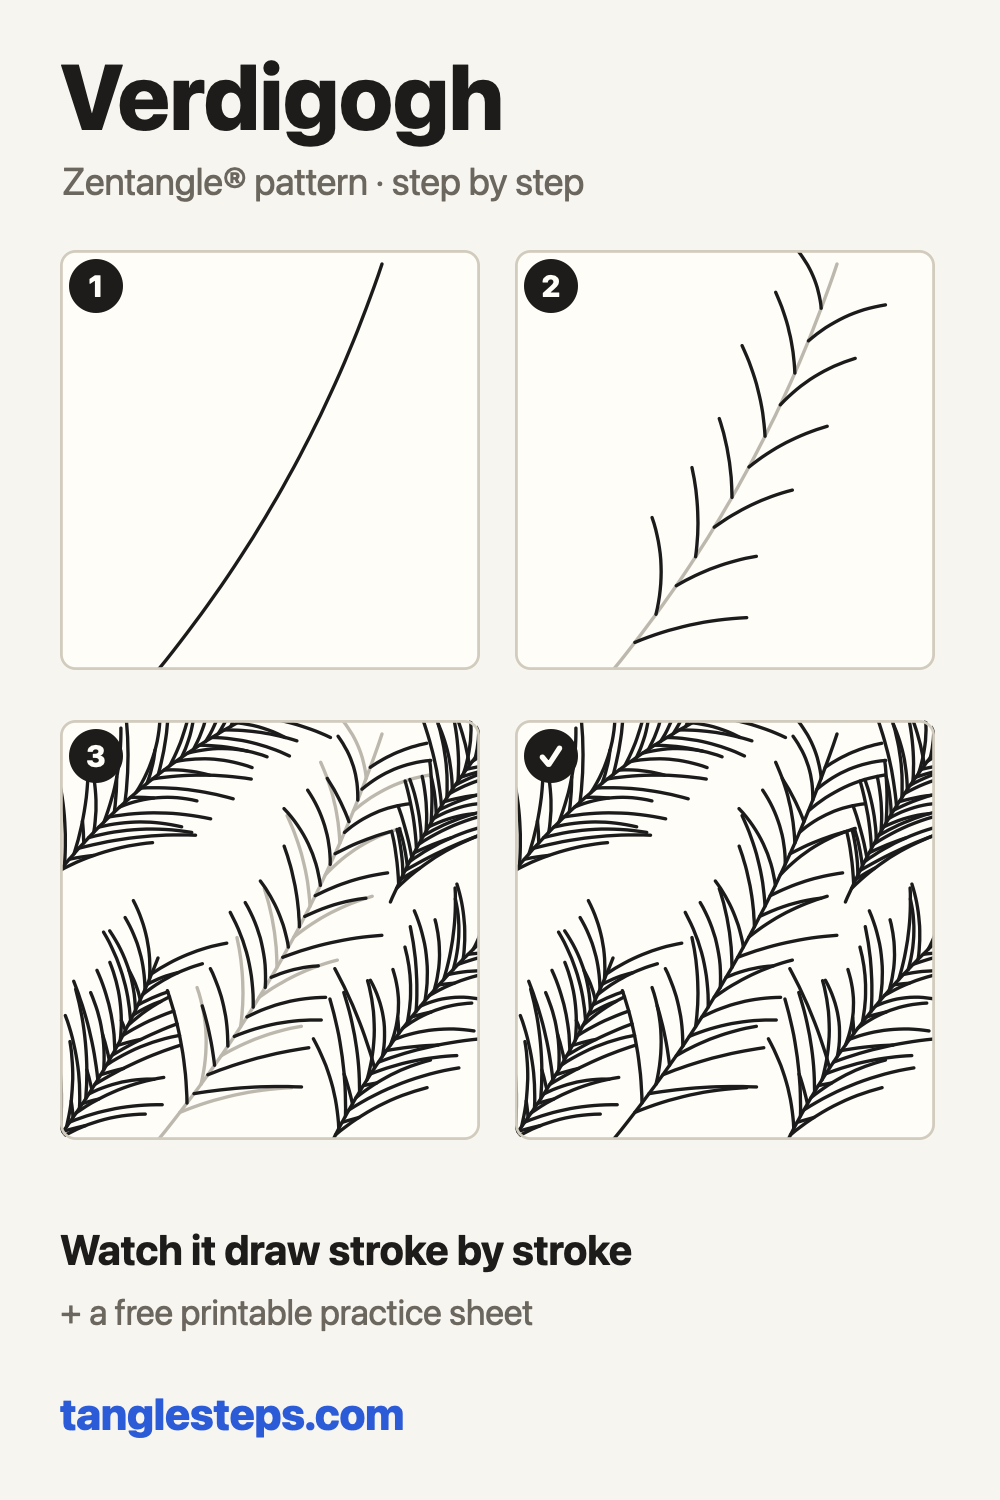
Draw a long, gently curving stem.
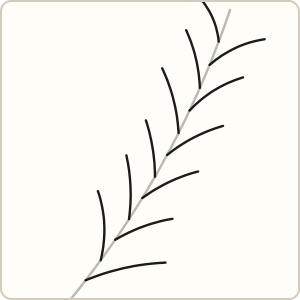 Step 2
Draw needles off both sides of the stem, taking turns from side to side and leaning towards the tip.
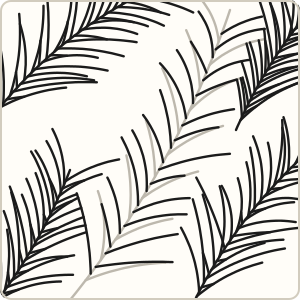 Step 3
Add more needles between them, drawn behind: each one stops where it meets a needle already there. Grow more branches to fill the section.
Common Verdigogh mistakes and how to fix them
- Needles point in every direction. Lean all of them towards the tip of the branch.
- Later needles are drawn across earlier ones. Stop each new needle where it meets one already drawn, so it sits behind.
Tips for a neat Verdigogh
- Lean every needle towards the tip of the branch, like real pine needles.
- Make the needles shorter as you get closer to the tip.
- Stop a needle as soon as it touches another; that is what makes the layers look stacked.
Verdigogh variations
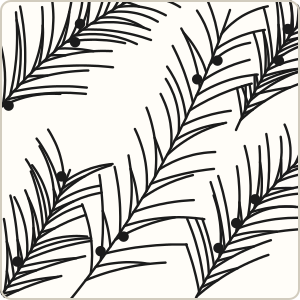
- Draw the stem as two lines and fill it black.
Tangles that pair well with Verdigogh
 Tipple orbs look like berries or snow among the branches
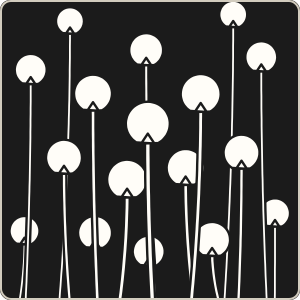 Pokeroot another plant-like tangle that grows from an edge
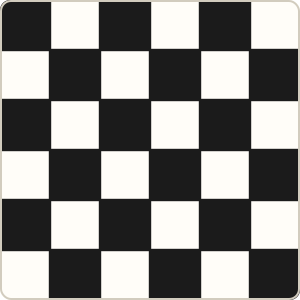 Knightsbridge a crisp grid next to soft needles
Verdigogh step-out chart
All the steps on one image, handy for a sketchbook or a classroom wall.
More tangles to learn
 Printemps
 Shattuck
 Flux
 Diva Dance
 Pepper
 SeZ
Page updated .