Zentangle patterns › Huggins
Huggins Zentangle® Pattern: How to Draw It Step by Step
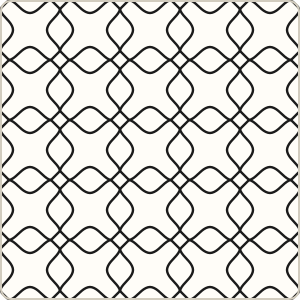
Huggins is a woven grid: rows and columns of small orbs joined by gentle curves that take turns bending one way and the other, so the strands seem to pass over and under each other. It is one of the original tangles from Zentangle founders Rick Roberts and Maria Thomas.
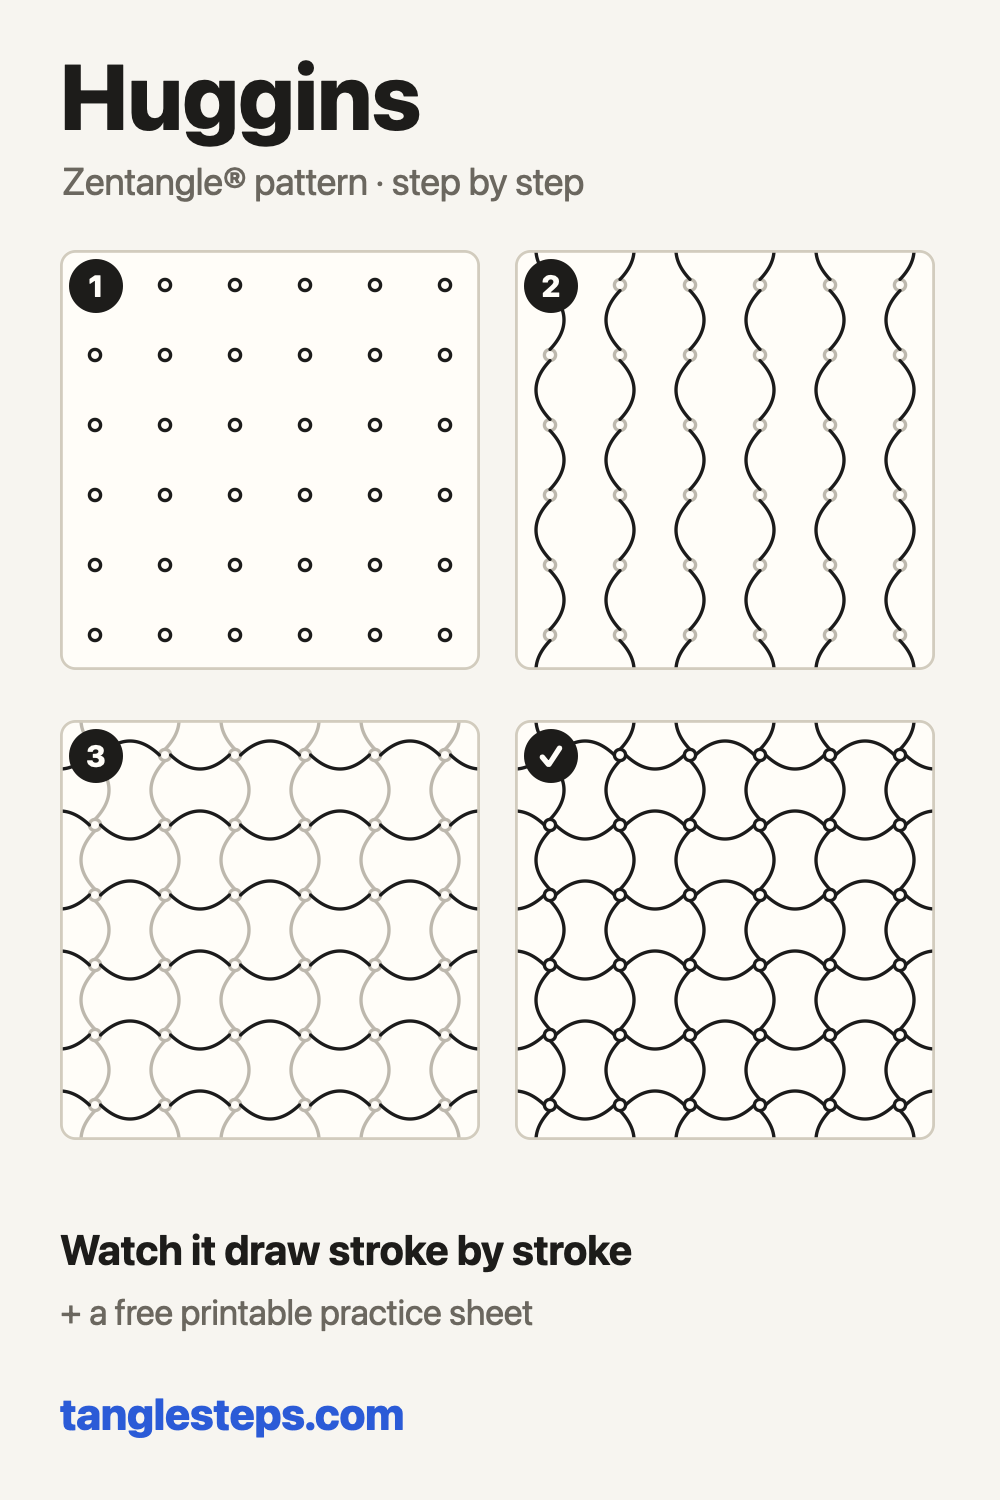
Draw a grid of small orbs, evenly spaced in rows and columns.
Watch it draw stroke by stroke, pause on any step, then try it yourself on paper.
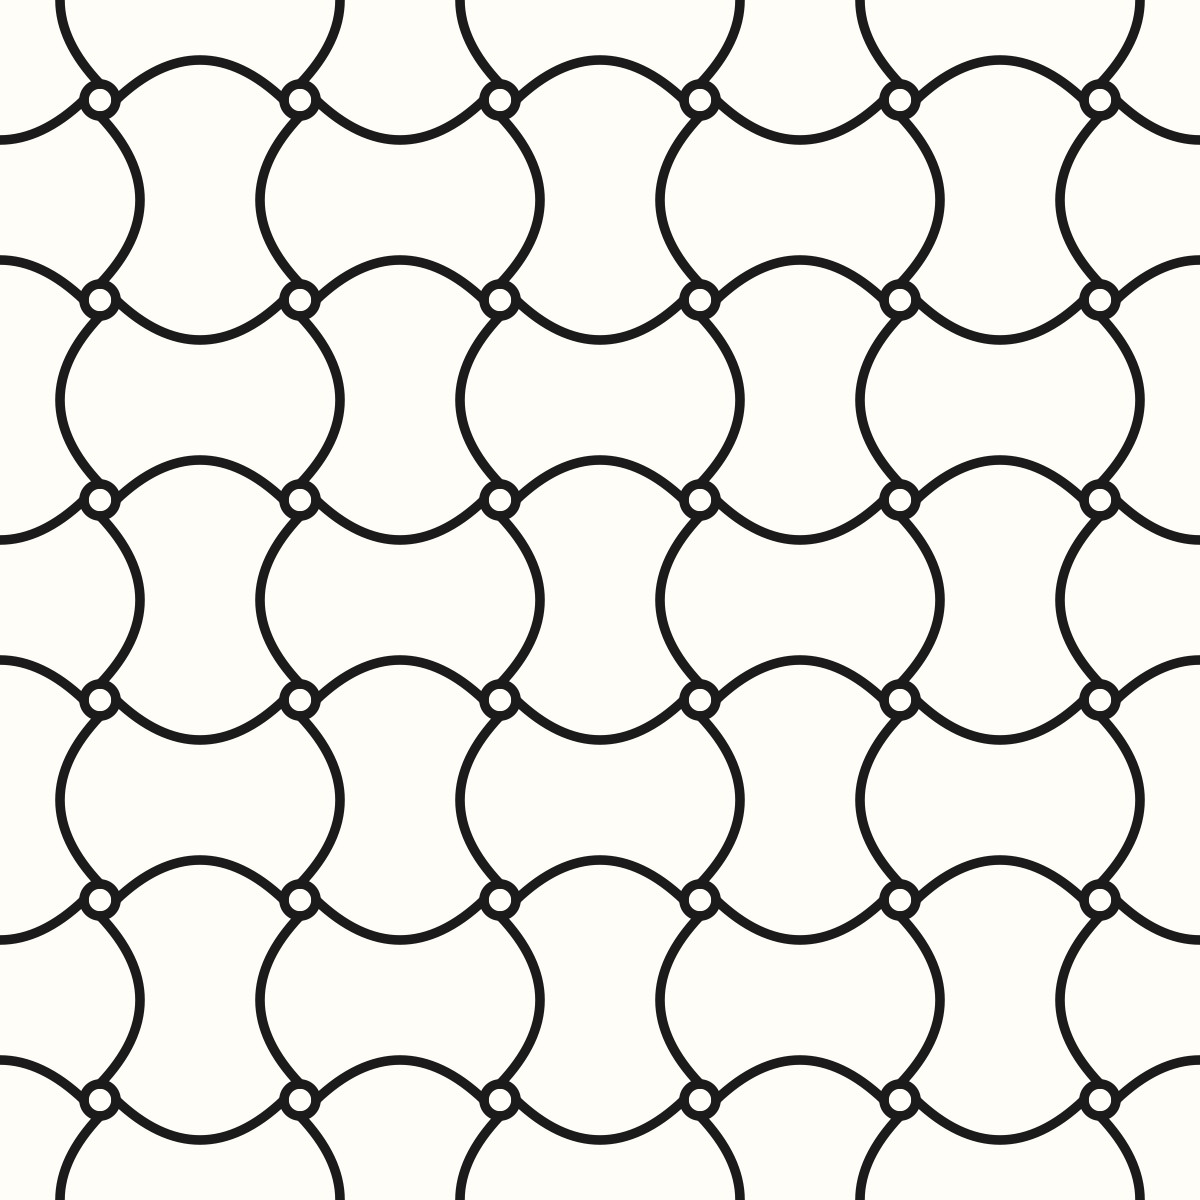
Huggins step by step
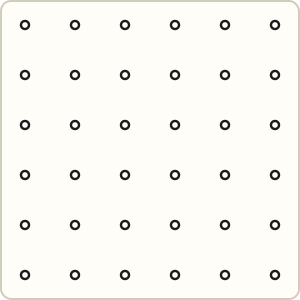 Step 1
Draw a grid of small orbs, evenly spaced in rows and columns.
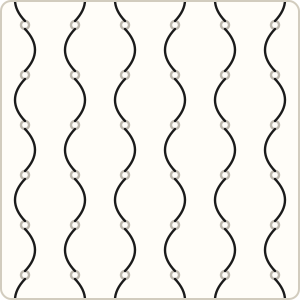 Step 2
Join each orb to the one below it with a gentle curve. Down a column the curves take turns bending right and left, and each column starts the opposite way to its neighbour.
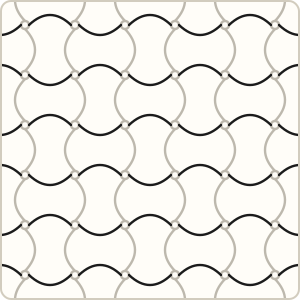 Step 3
Turn the tile and join the orbs across the same way. Every square now bulges out on two opposite sides and pinches in on the other two.
Common Huggins mistakes and how to fix them
- Two neighbouring curves bend the same way and the weave breaks. Down a column the bends take turns, and each column starts opposite to the one beside it. Check the first row before going on.
- Curves bulge so far that they nearly touch. Keep the bulge to about a quarter of the gap between orbs.
Tips for a neat Huggins
- Turn the tile for the second direction so you always pull the curve the same, comfortable way.
- Keep the bulge shallow, about a quarter of the gap between orbs.
- Pencil shading where each strand pinches in makes it look like it dips under its neighbour.
Huggins variations
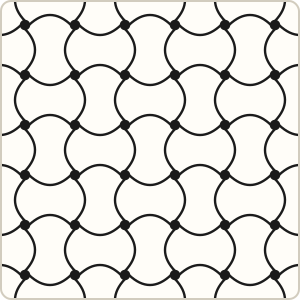
- Shade with pencil where each strand pinches in, so the weave looks deeper.
Tangles that pair well with Huggins
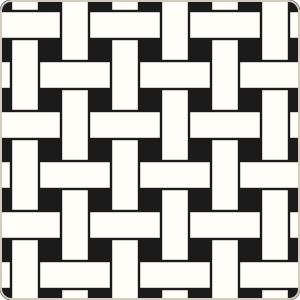 W2 the same over-and-under idea built from squares
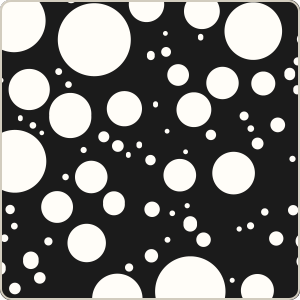 Tipple a dotted section rests the eye next to a dense weave
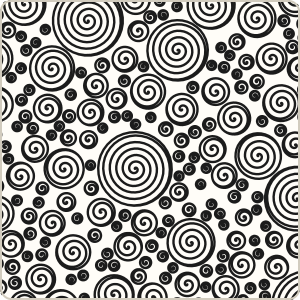 Printemps spirals soften the regular grid
Use Huggins in a project
Try Huggins in a complete project with a free template.
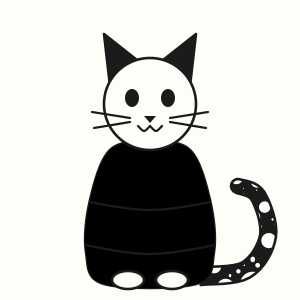 Zentangle cat
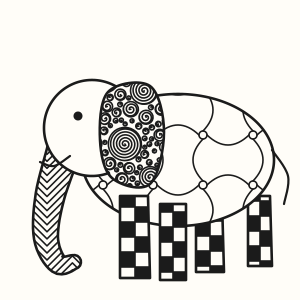 Zentangle elephant
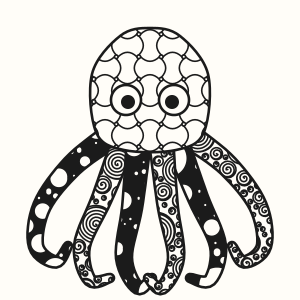 Zentangle octopus
Huggins step-out chart
All the steps on one image, handy for a sketchbook or a classroom wall.
More tangles to learn
 Way Knot
 Keeko
 Cadent
 Yincut
 Oof
 Queen B
Page updated .