Zentangle patterns › Way Knot
Way Knot Zentangle® Pattern: How to Draw It Step by Step
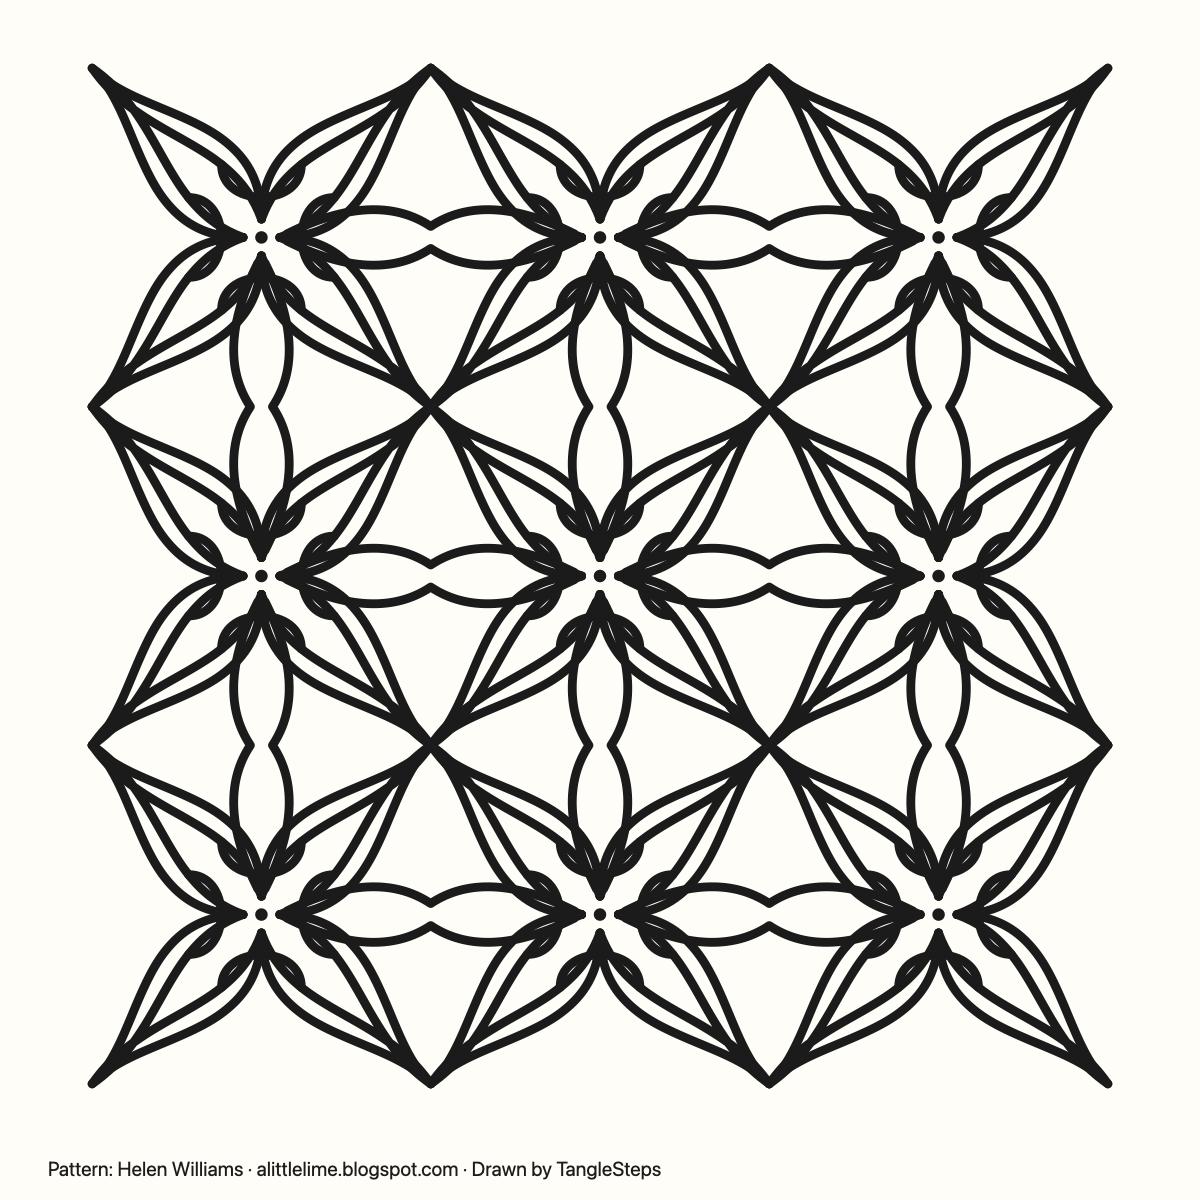
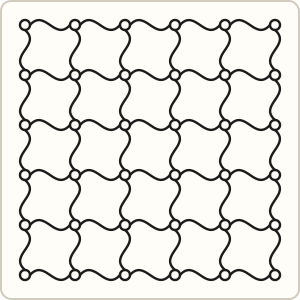
Way Knot links four-petaled units with small curved knots to form a continuous lattice. Helen Williams developed it from Way Bop. Follow one unit closely, then repeat it and connect the spaces between units.
Pattern by Helen Williams. Drawing and step explanations by TangleSteps.
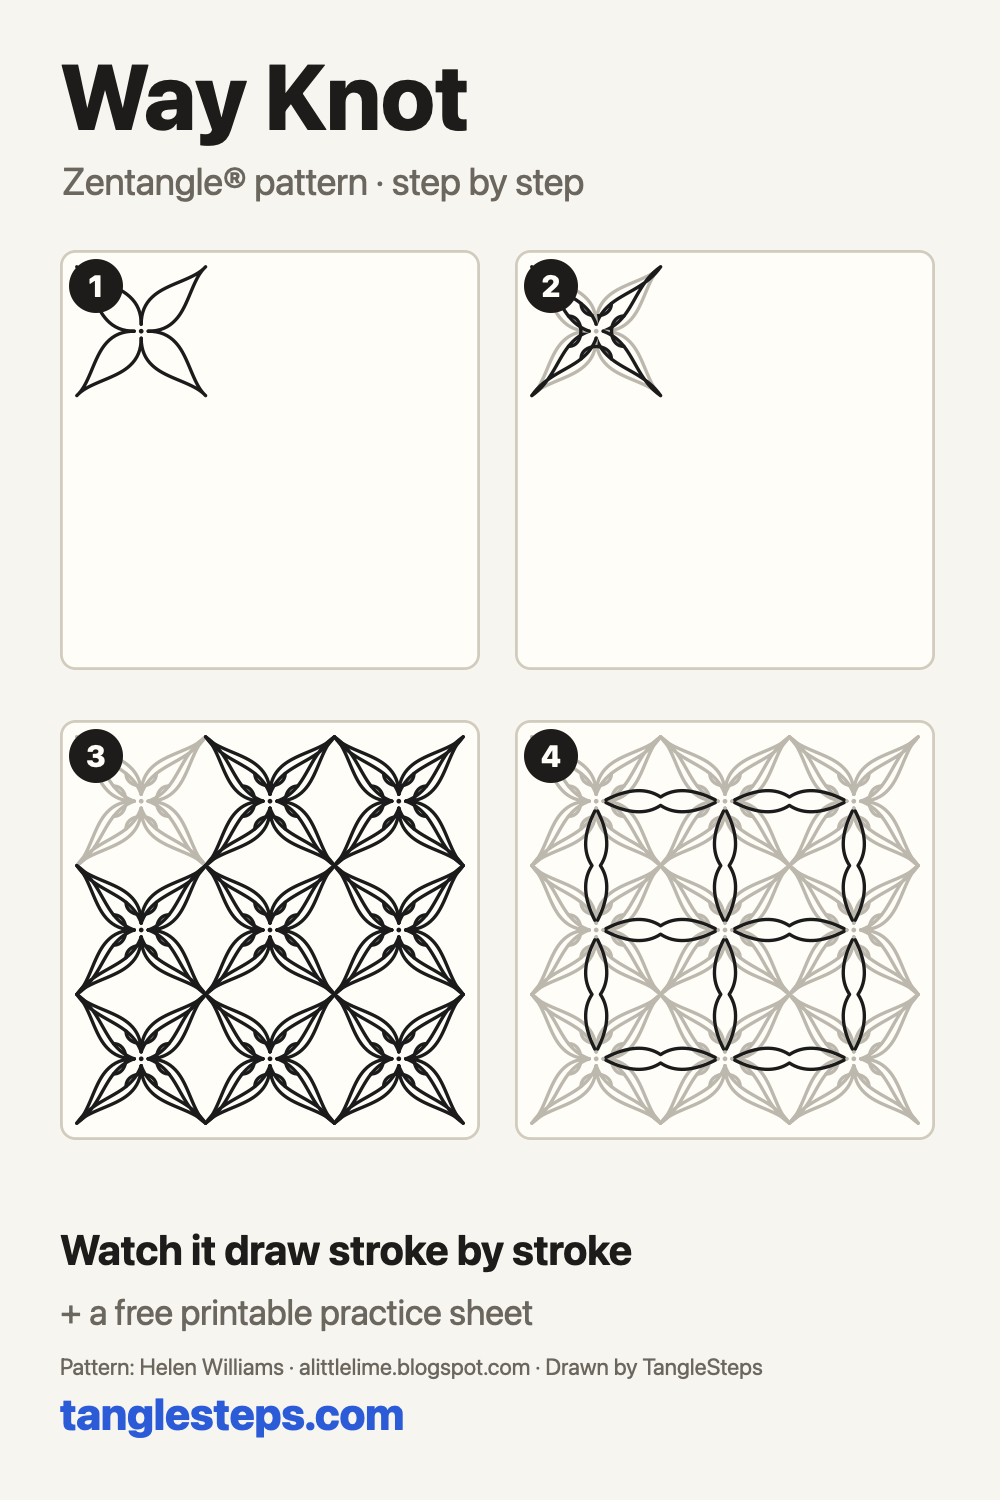
Mark a center and four corners for the first unit. Draw four pointed leaves from the center toward the corners, leaving small openings at the center.
Watch it draw stroke by stroke, pause on any step, then try it yourself on paper.
Way Knot step by step
 Step 1
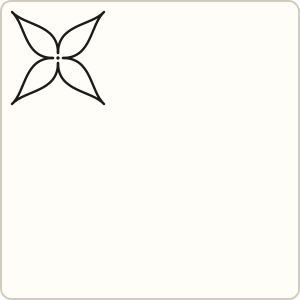
Mark a center and four corners for the first unit. Draw four pointed leaves from the center toward the corners, leaving small openings at the center.
 Step 2
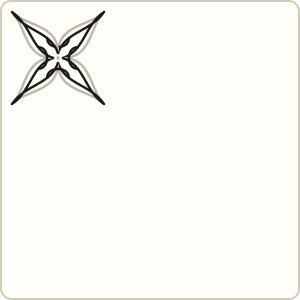
Draw a close inner aura inside each leaf. Wrap a small U-shaped curve around each inward point to make the central knot.
 Step 3
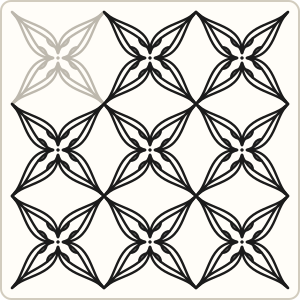
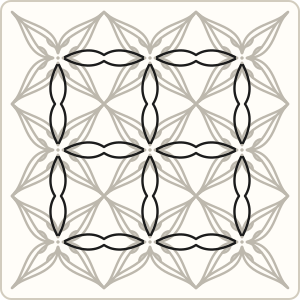
Repeat the completed unit in rows and columns, with neighboring units sharing their outer corner points.
 Step 4
Join neighboring centers with paired curved lines through the gaps. Repeat the connections horizontally and vertically.
Common Way Knot mistakes and how to fix them
- The center fills up with ink. Leave a small gap between the inward points before adding the knot.
- Units do not meet at the corners. Mark a light, evenly spaced dot grid first.
Tips for a neat Way Knot
- Practice one large unit before drawing a full lattice.
- Keep the center openings clear so the knot has room.
- Work across one row at a time, turning the paper for comfortable curves.
Way Knot variations
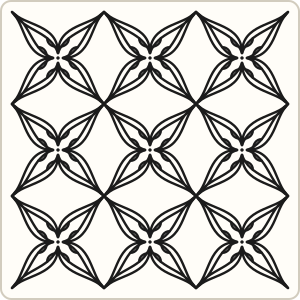
- Try a gently distorted dot grid after learning the regular version.
Tangles that pair well with Way Knot
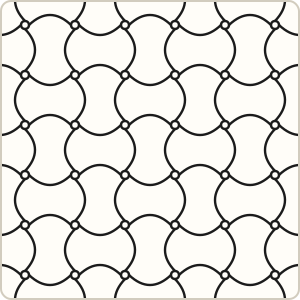 Huggins two different woven structures
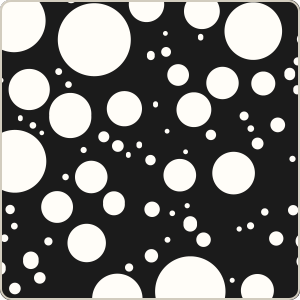 Tipple small orbs can fill the lattice gaps
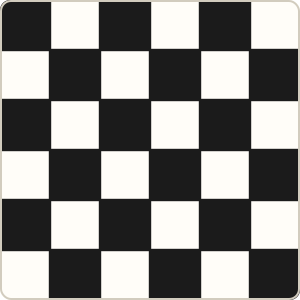 Knightsbridge solid checks contrast with the curved lattice
Way Knot step-out chart
All the steps on one image, handy for a sketchbook or a classroom wall.
More tangles to learn
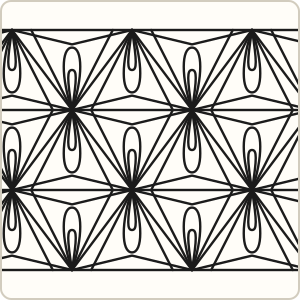 Queen B
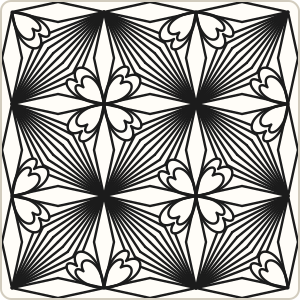 Hearts & Diamonds
 W2
 Keeko
 Cadent
 Yincut
Page updated .