Zentangle patterns › Yincut
Yincut Zentangle® Pattern: How to Draw It Step by Step
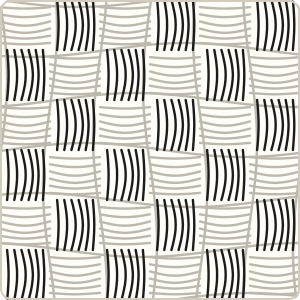
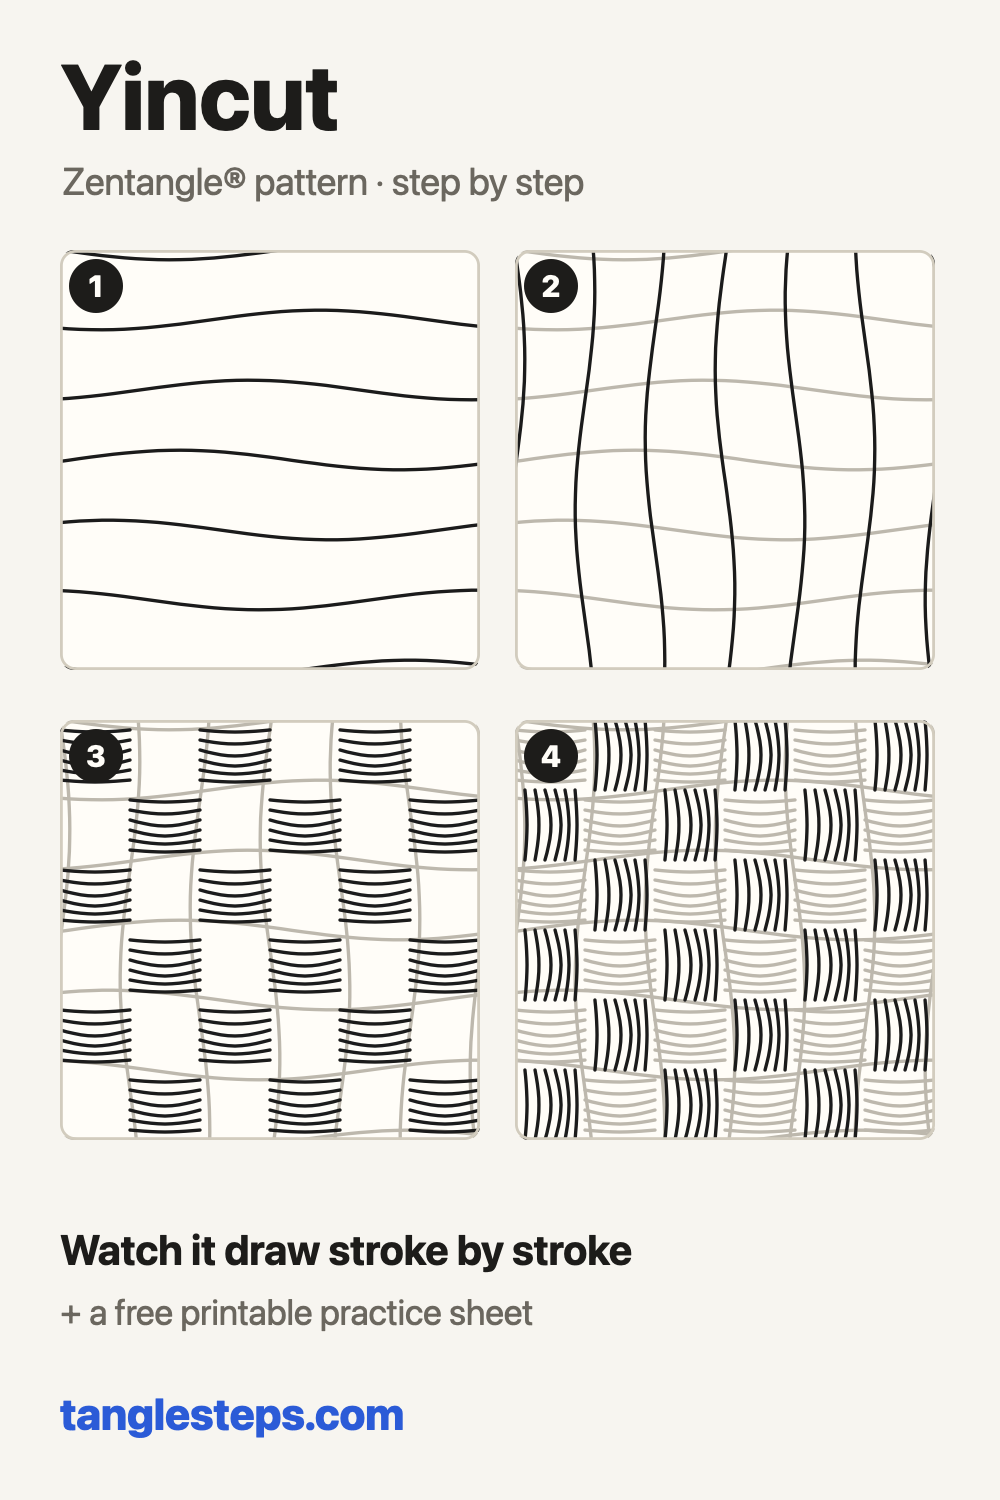
Yincut is a grid of gently curving lines with every cell filled by lines, one cell running across and the next running down, so the grid looks like a quilt of little cushions. It is an original Zentangle tangle, introduced in the founders' May 2009 newsletter.
Step 1 of 4
Draw a row of gently curving lines across the section.
Watch it draw stroke by stroke, pause on any step, then try it yourself on paper.
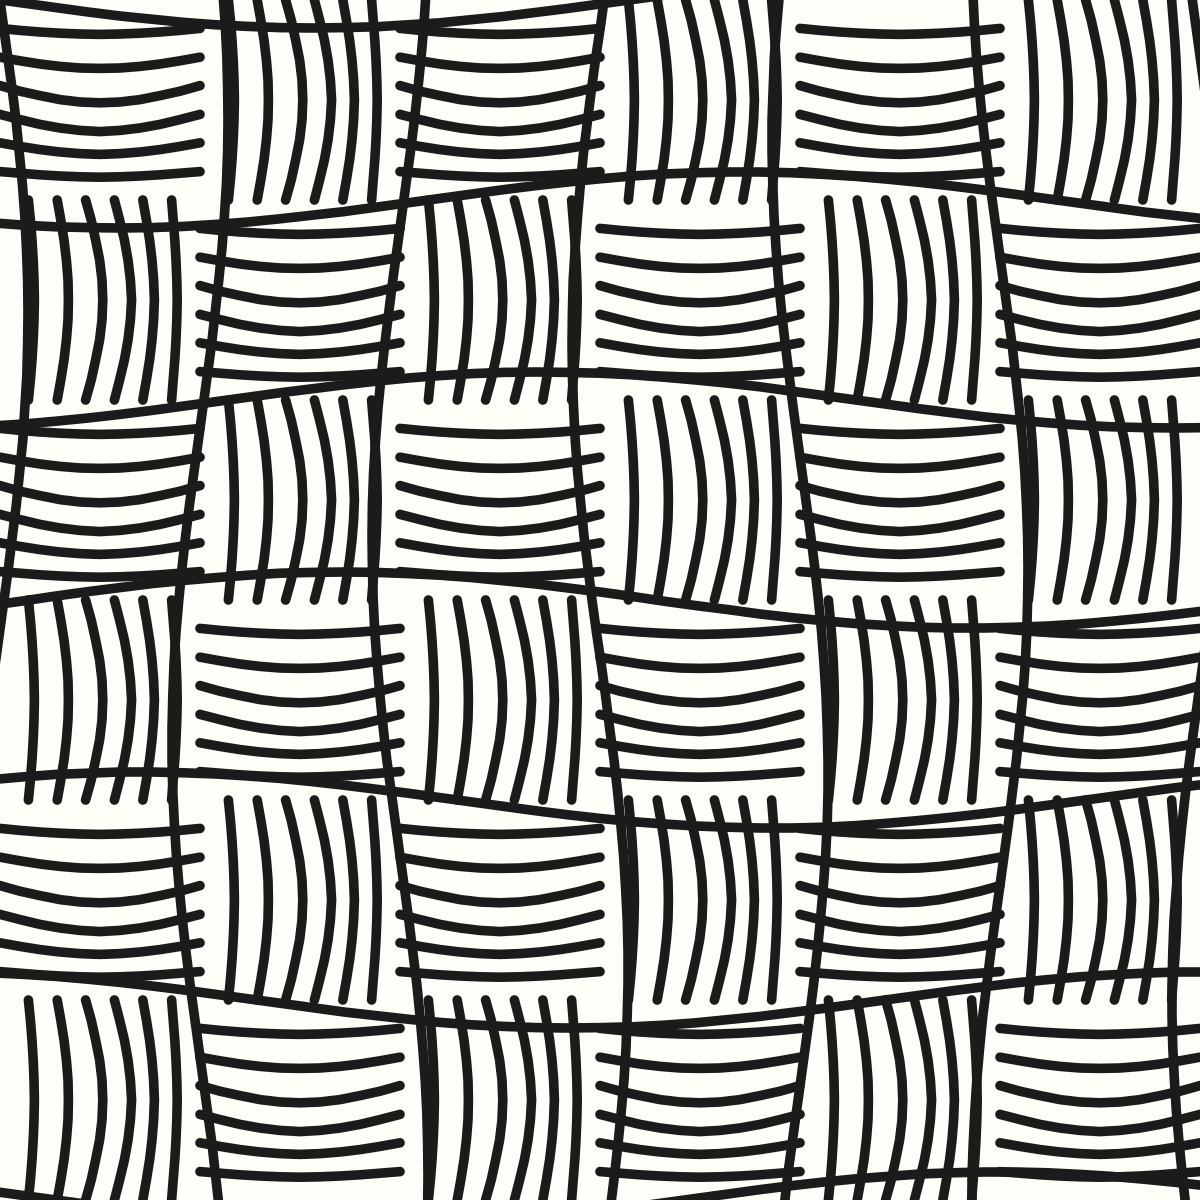
Yincut step by step
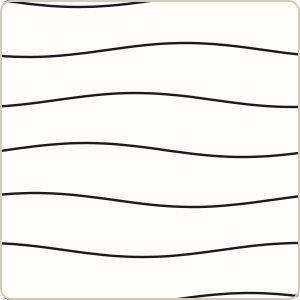 Step 1
Draw a row of gently curving lines across the section.
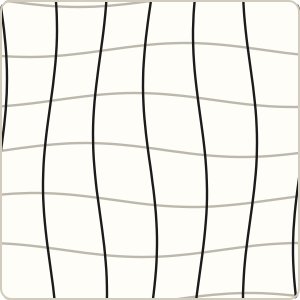 Step 2
Draw curving lines the other way to make a grid.
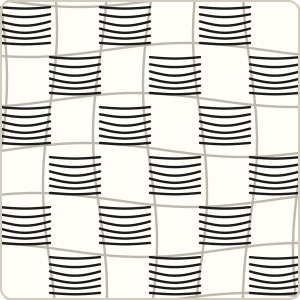 Step 3
Fill every other cell with lines running across, bowing slightly in the middle.
 Step 4
Fill the remaining cells with lines running down.
Common Yincut mistakes and how to fix them
- The lines in a cell are straight and flat. Bow them a little in the middle so the cell looks padded.
- Neighbouring cells run the same way. Alternate across and down, like a checkerboard.
Tips for a neat Yincut
- Remember to turn the tile, as the original reminds you; it is easier to draw lines towards yourself.
- Bow the lines in the middle of each cell so the cells look padded.
- Shade the corners of each cell to deepen the cushion effect.
Yincut variations
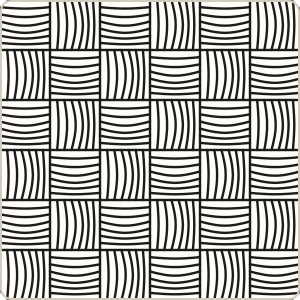
- Fill only half the cells and leave the rest white.
Tangles that pair well with Yincut
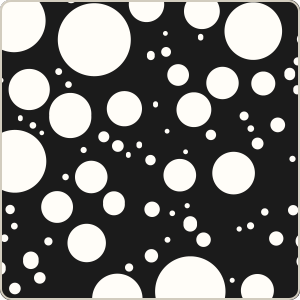 Tipple round orbs next to the cushions
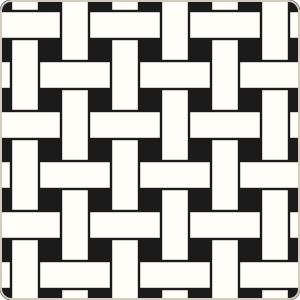 W2 both are woven-looking grids
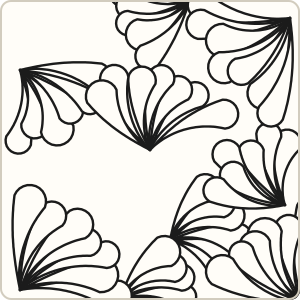 Flux soft lobes beside a tidy grid
Yincut step-out chart
All the steps on one image, handy for a sketchbook or a classroom wall.
More tangles to learn
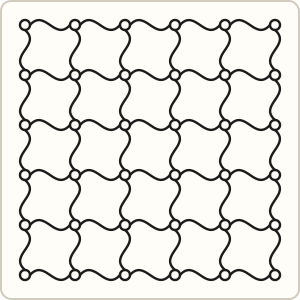 Cadent
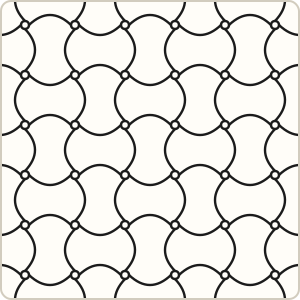 Huggins
 Oof
 Queen B
 Hearts & Diamonds
 Way Knot
Page updated .