Zentangle patterns › Zinger
Zinger Zentangle® Pattern: How to Draw It Step by Step
Zinger is a curved line that ends in a small black orb, with a few short arcs fanned out past the orb, as if the line has just landed with a zing. Maria Thomas shared it as an official Zentangle tangle; the name was suggested by a Certified Zentangle Teacher in class.
Draw a gently curved line and end it with a small orb filled black.
Watch it draw stroke by stroke, pause on any step, then try it yourself on paper.
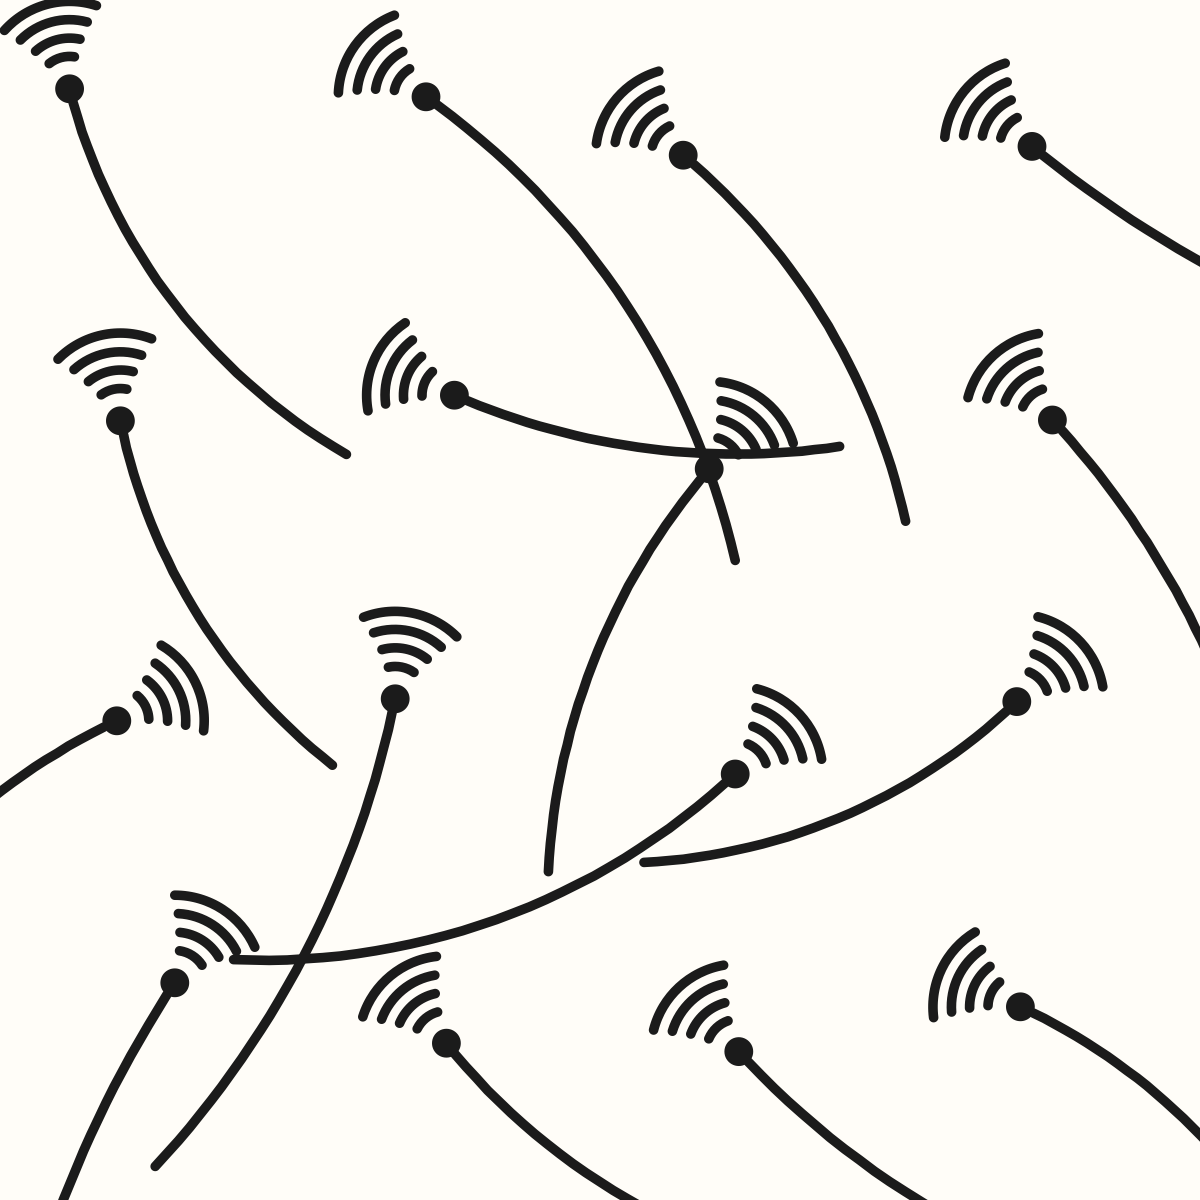
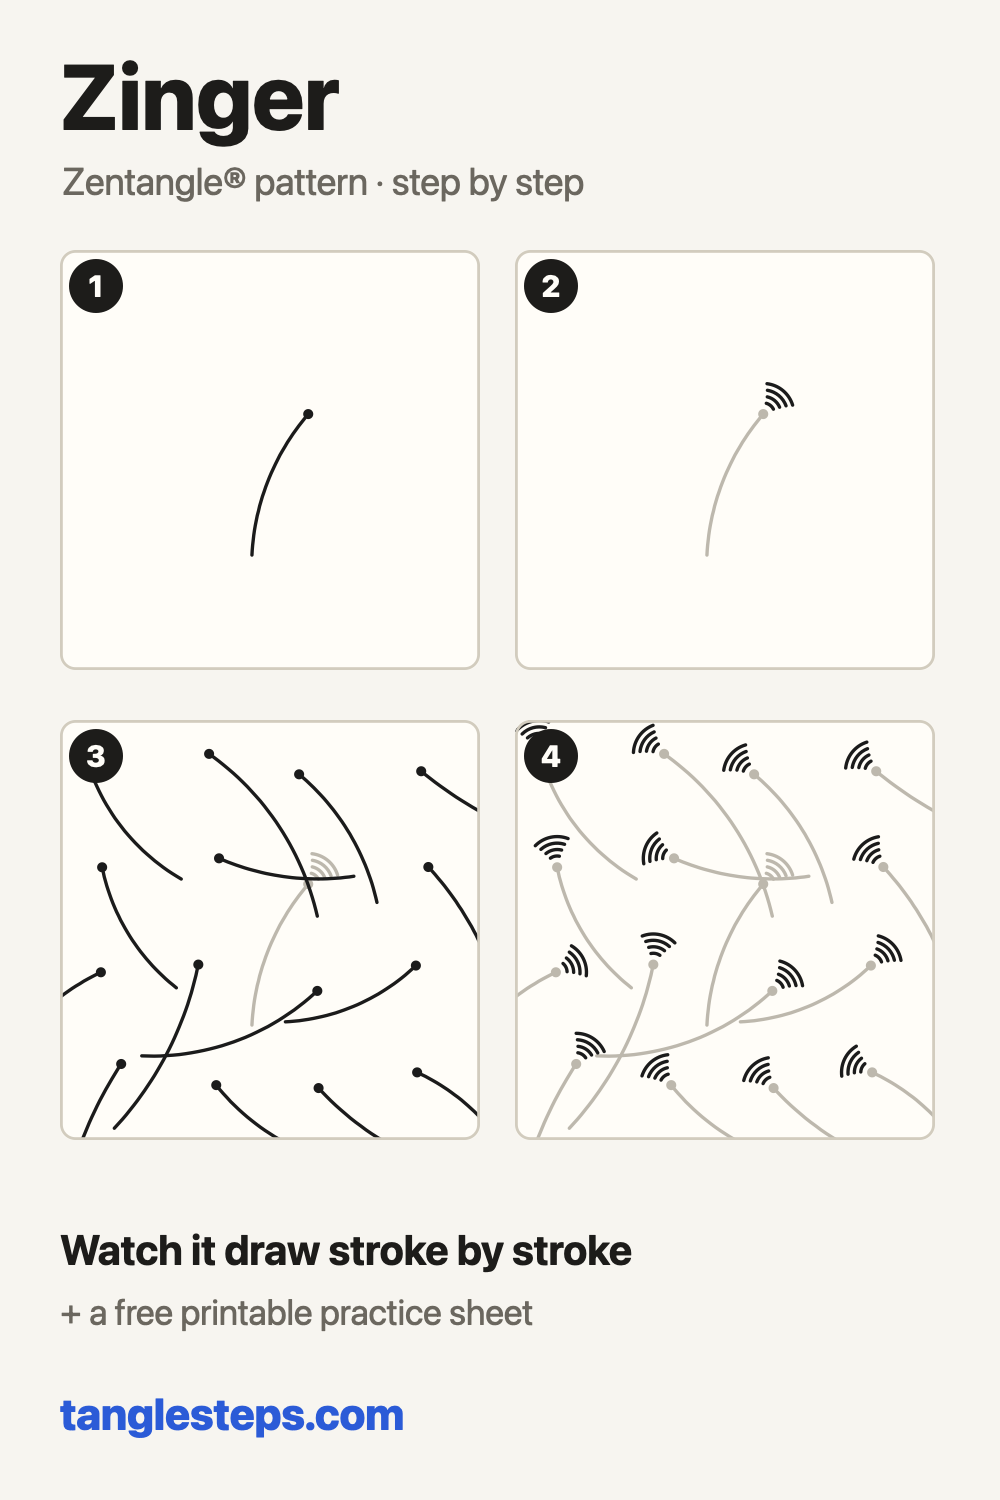
Zinger step by step
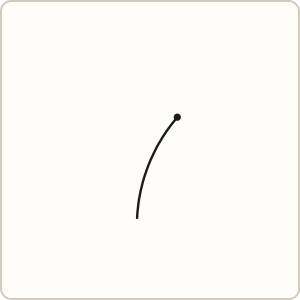 Step 1
Draw a gently curved line and end it with a small orb filled black.
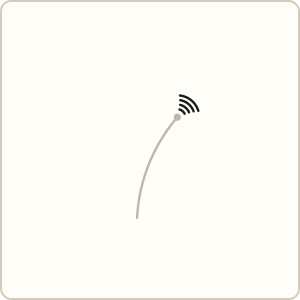 Step 2
Past the orb, draw a few short arcs that fan out, each a little wider than the last.
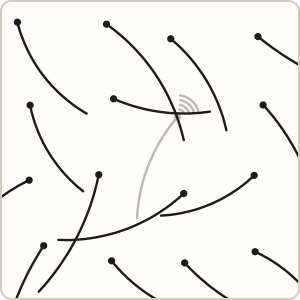 Step 3
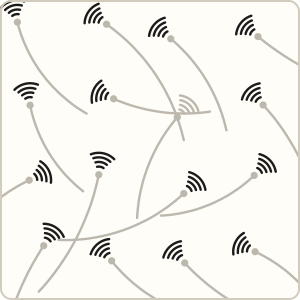
Add more Zinger lines in different directions, letting some cross.
 Step 4
Finish the zing arcs on every new line.
Common Zinger mistakes and how to fix them
- The arcs merge into a black blob. Leave a gap about the width of the line between arcs.
- Too many Zingers crowd the section. Use a handful as an accent; leave white space around each orb.
Tips for a neat Zinger
- Keep the arcs short and close together; four is plenty.
- Point the arcs in the direction the line is travelling.
- Use Zinger sparingly as an accent beside a busier tangle.
Zinger variations
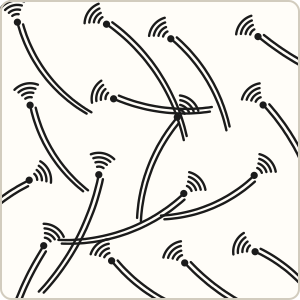
- Curl the end of the line into a small spiral before the orb.
Tangles that pair well with Zinger
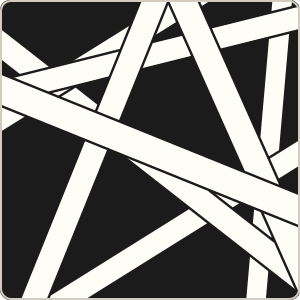 Hollibaugh Zinger lines can weave between its bands
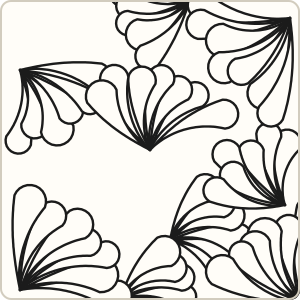 Flux zings make good accents between the fans
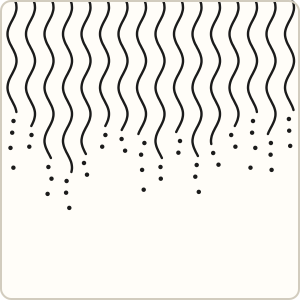 Msst both end in dots and fade out
Zinger step-out chart
All the steps on one image, handy for a sketchbook or a classroom wall.
More tangles to learn
 Crescent Moon
 Printemps
 Tipple
 Fescu
 Cadent
 Huggins
Page updated .