Zentangle patterns › Mooka
Mooka Zentangle® Pattern: How to Draw It Step by Step
Mooka is made of pods: each one rises from a point, swells into a rounded top and curls over into a hook, with smaller pods nested inside. Rick Roberts and Maria Thomas created it, inspired by the Art Nouveau work of Alphonse Mucha, and each pod is meant to be drawn in one continuous line.

Try the tan tile
The same brown-ink palette as our video. Switch the animation, finished example and step-outs below.
A digital color example; the printable practice sheet stays white to save ink.
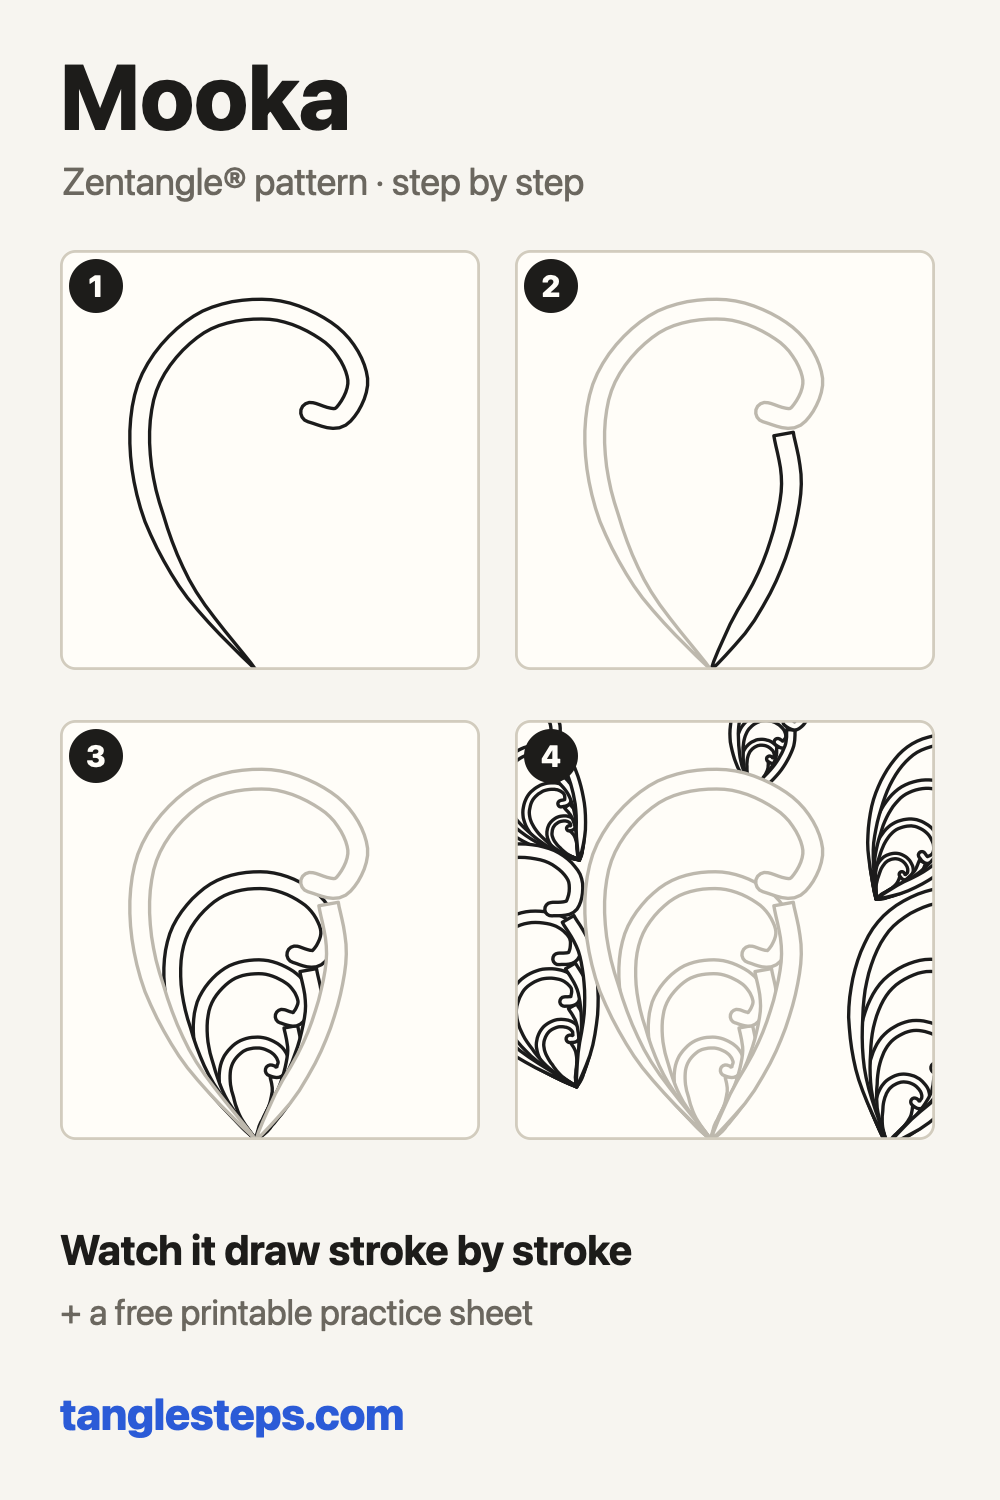
From a point at the bottom, draw a line up one side, over the top and curl it down into a hook. Draw it as a band of two lines.
Watch it draw stroke by stroke, pause on any step, then try it yourself on paper.
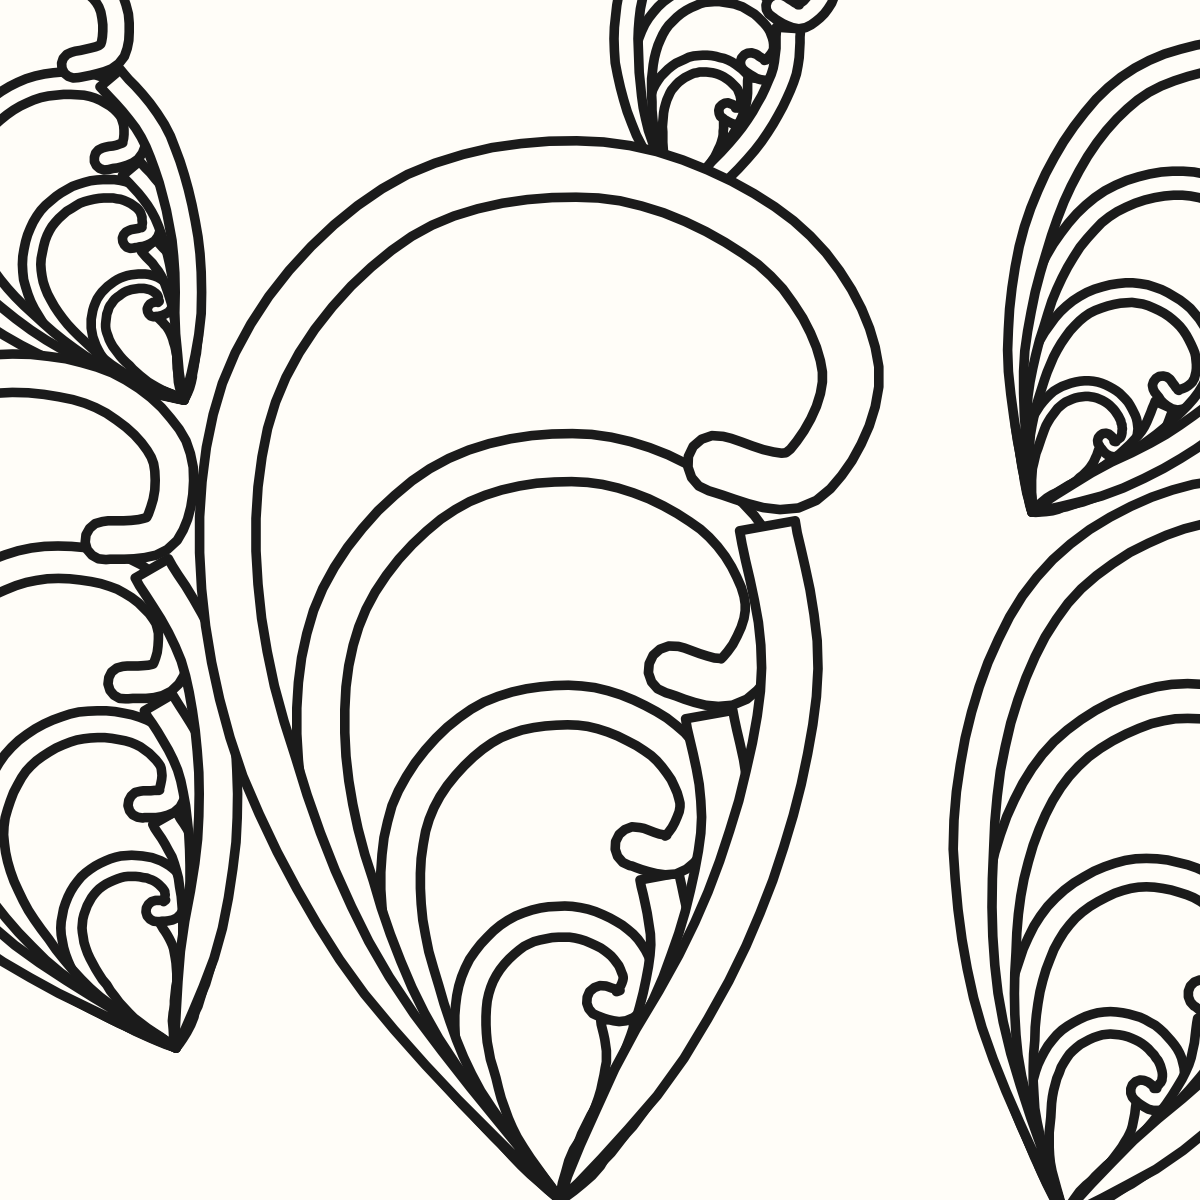
Mooka step by step
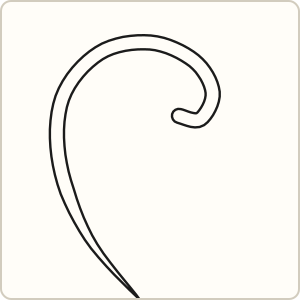 Step 1
From a point at the bottom, draw a line up one side, over the top and curl it down into a hook. Draw it as a band of two lines.
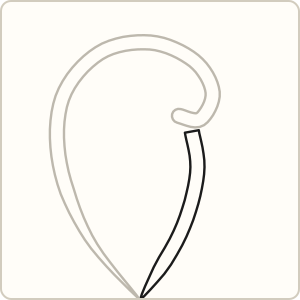 Step 2
Close the pod: from under the hook, bring a band down the other side back to the starting point.
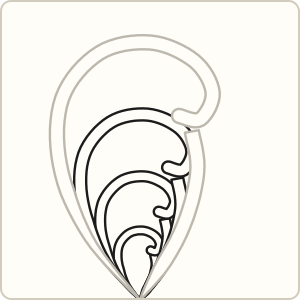 Step 3
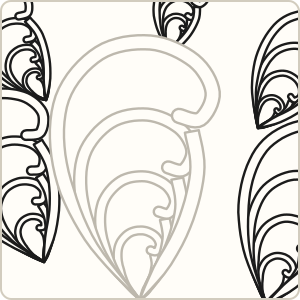
Draw smaller pods inside, each one nested in the last, down to a tiny curl.
 Step 4
Add more pods around it, tucking each new one behind those already drawn.
Common Mooka mistakes and how to fix them
- The hook is drawn as a separate shape. Draw it as the end of the same stroke that came up the side: up, round and down.
- Nested pods drift off to one side. Aim every inner pod at the same bottom point as the outer one.
Tips for a neat Mooka
- Think up, round and down: the hook is just the end of the same stroke.
- Keep the two lines of each band evenly spaced; thin bands look more elegant than thick ones.
- Let all the nested pods share the same bottom point.
Mooka variations
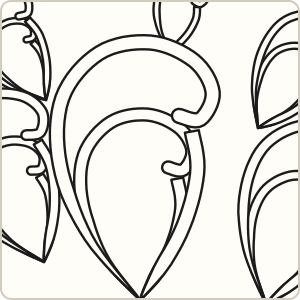
- Fill the space between the two lines of each band black.
Tangles that pair well with Mooka
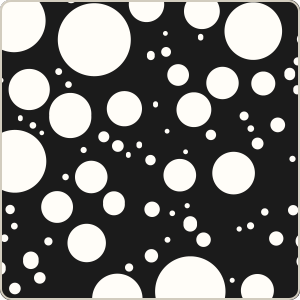 Tipple small orbs fill the gaps between the pods
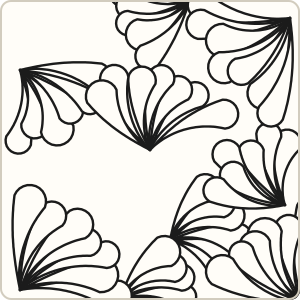 Flux both have rounded, flowing lobes
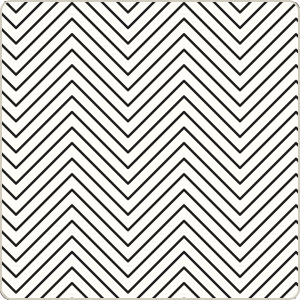 Static straight zigzags contrast with the curves
Mooka step-out chart
All the steps on one image, handy for a sketchbook or a classroom wall.
More tangles to learn
 Crescent Moon
 Printemps
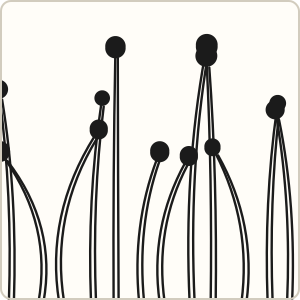 Fescu
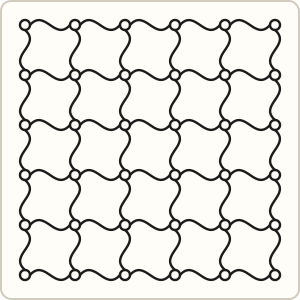 Cadent
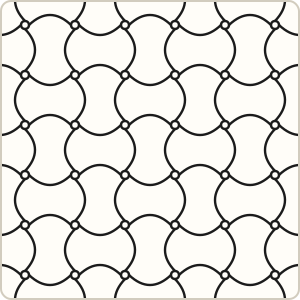 Huggins
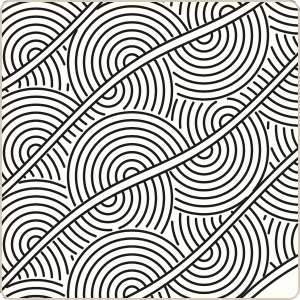 Shattuck
Page updated .