Zentangle patterns › Munchin
Munchin Zentangle® Pattern: How to Draw It Step by Step
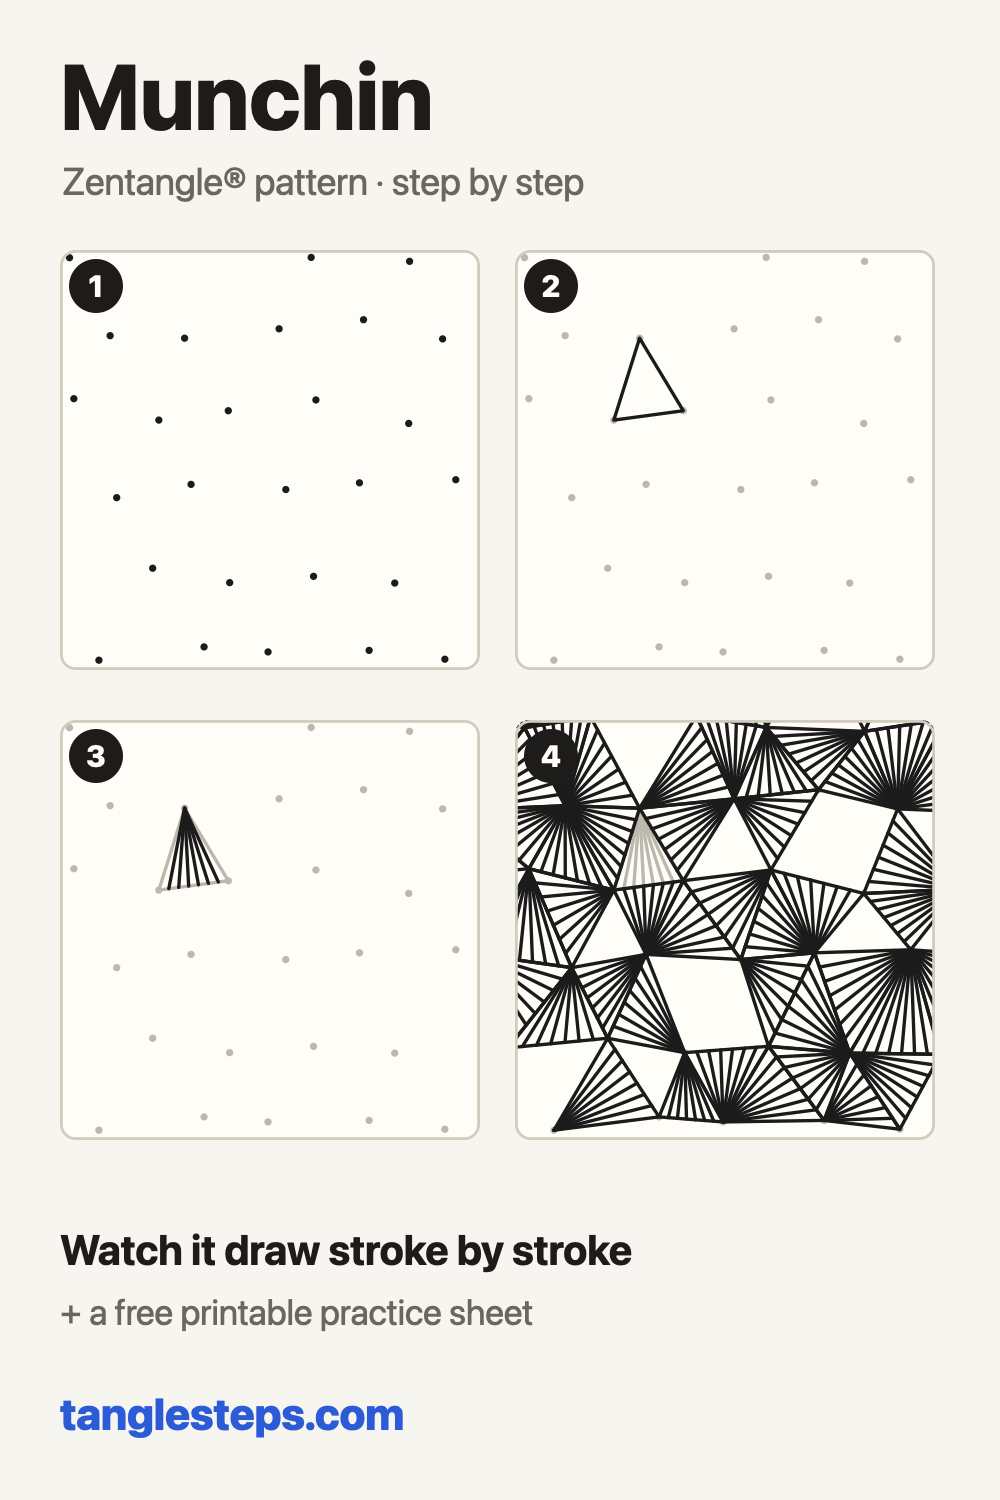
Munchin starts with scattered dots. Join three dots into a triangle, fill it with a fan of straight lines from one corner, then build the next triangle on its side. Molly Hollibaugh shared it in the Zentangle newsletter in 2009.
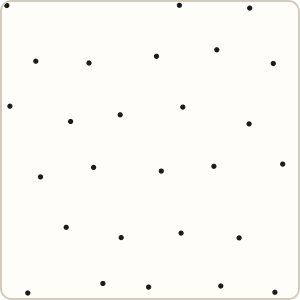
Scatter dots over the section, roughly evenly spaced.
Watch it draw stroke by stroke, pause on any step, then try it yourself on paper.
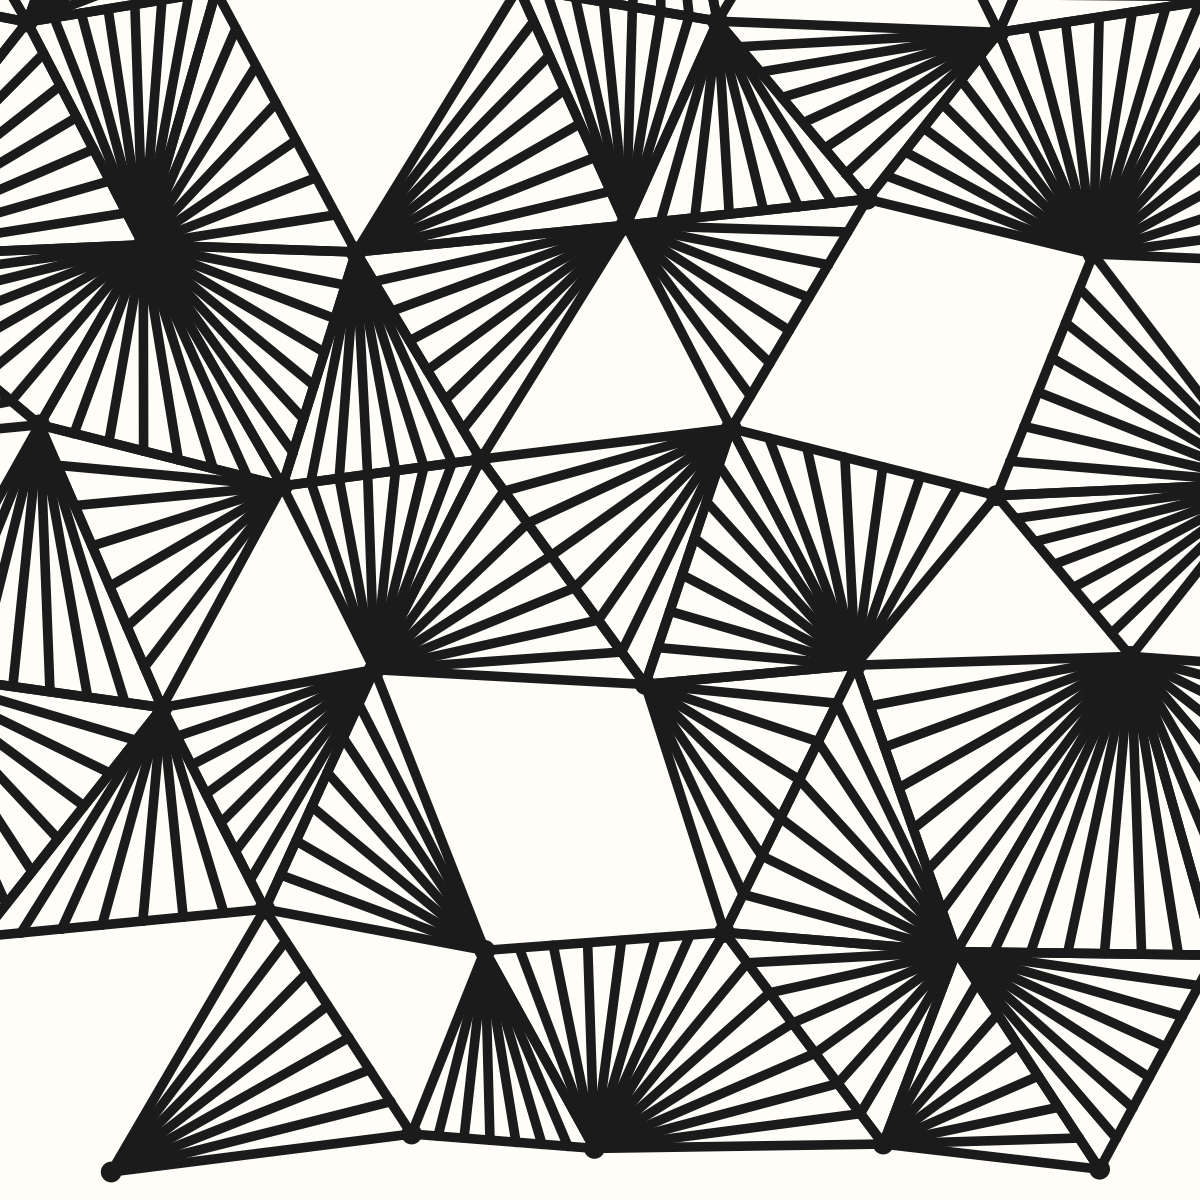
Munchin step by step
 Step 1
Scatter dots over the section, roughly evenly spaced.
 Step 2
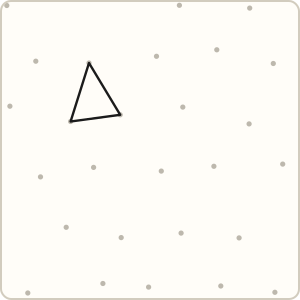
Join two dots with a straight line, then join both ends to a third dot to make a triangle.
 Step 3
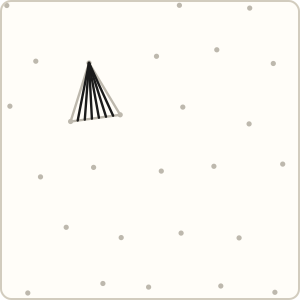
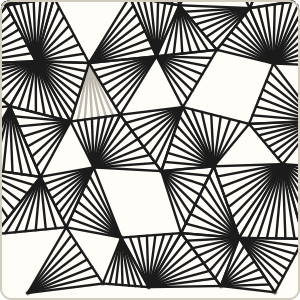
From one corner of the triangle, draw a fan of straight lines to the opposite side.
 Step 4
Build more triangles off the sides of the first, fanning each from a different corner. Leave a few empty.
Common Munchin mistakes and how to fix them
- Fan lines miss the corner they should start from. Put the pen right on the corner dot for every line of the fan.
- All the triangles look the same. Start each fan from a different corner than its neighbour's.
Tips for a neat Munchin
- Turn the tile so each fan line is a comfortable pull towards you.
- Change the corner the fan starts from in neighbouring triangles; it makes the facets catch the light differently.
- Leaving some triangles empty keeps Munchin from looking too heavy.
Munchin variations
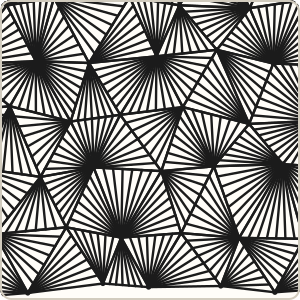
- Use curved lines for the fans instead of straight ones.
Tangles that pair well with Munchin
 Tipple round orbs next to sharp facets
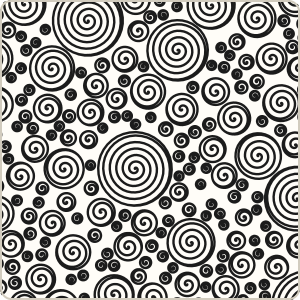 Printemps soft spirals calm the hard edges
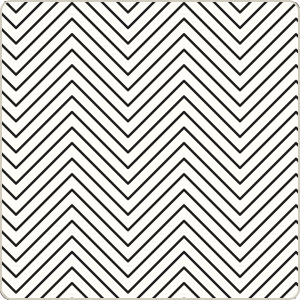 Static another tangle of straight lines with a different rhythm
Munchin step-out chart
All the steps on one image, handy for a sketchbook or a classroom wall.
More tangles to learn
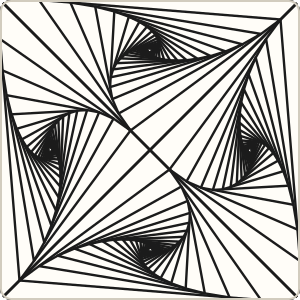 Paradox
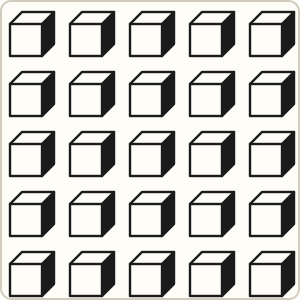 Cubine
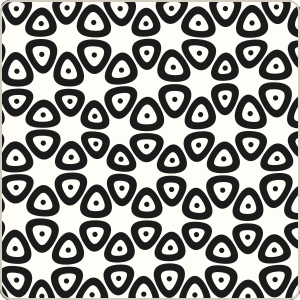 Tripoli
 Betweed
 Jonqal
 BeeLine
Page updated .