Zentangle patterns › Wrapped Rose
Wrapped Rose Zentangle® Pattern: How to Draw It Step by Step
Wrapped Rose grows from a small spiral into a flower made of overlapping petal arcs. Helen Williams developed this drawing technique from her exploration of rose forms. Each new petal wraps around part of the existing flower and stops at its outline.
Pattern by Helen Williams. Drawing and step explanations by TangleSteps.
Place a small dot and curl a loose spiral around it to make the center.
Watch it draw stroke by stroke, pause on any step, then try it yourself on paper.
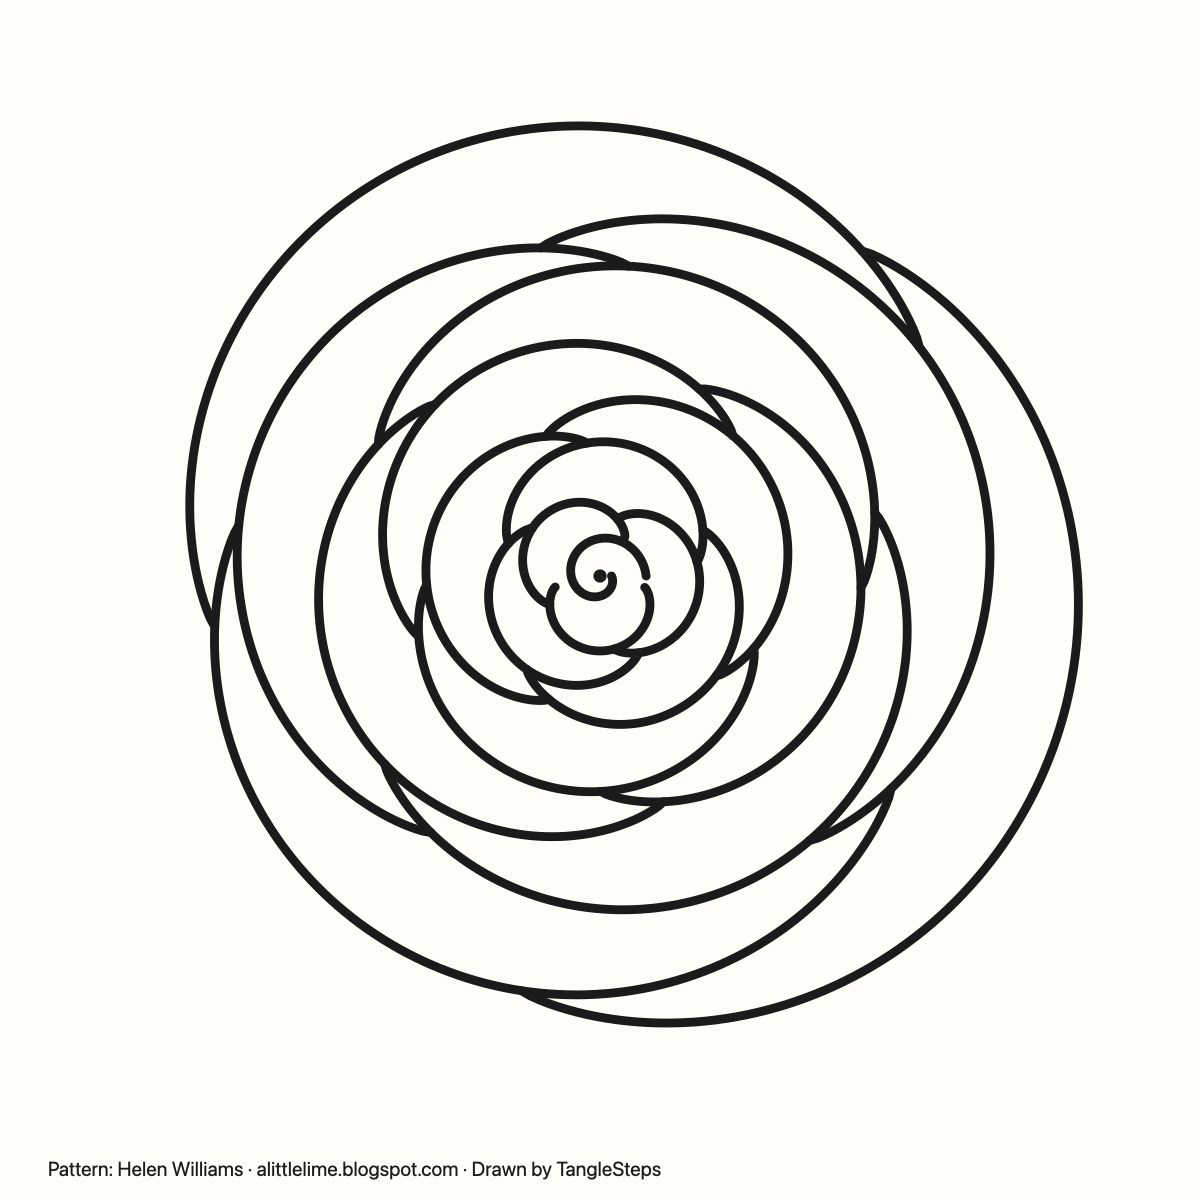
Wrapped Rose step by step
 Step 1
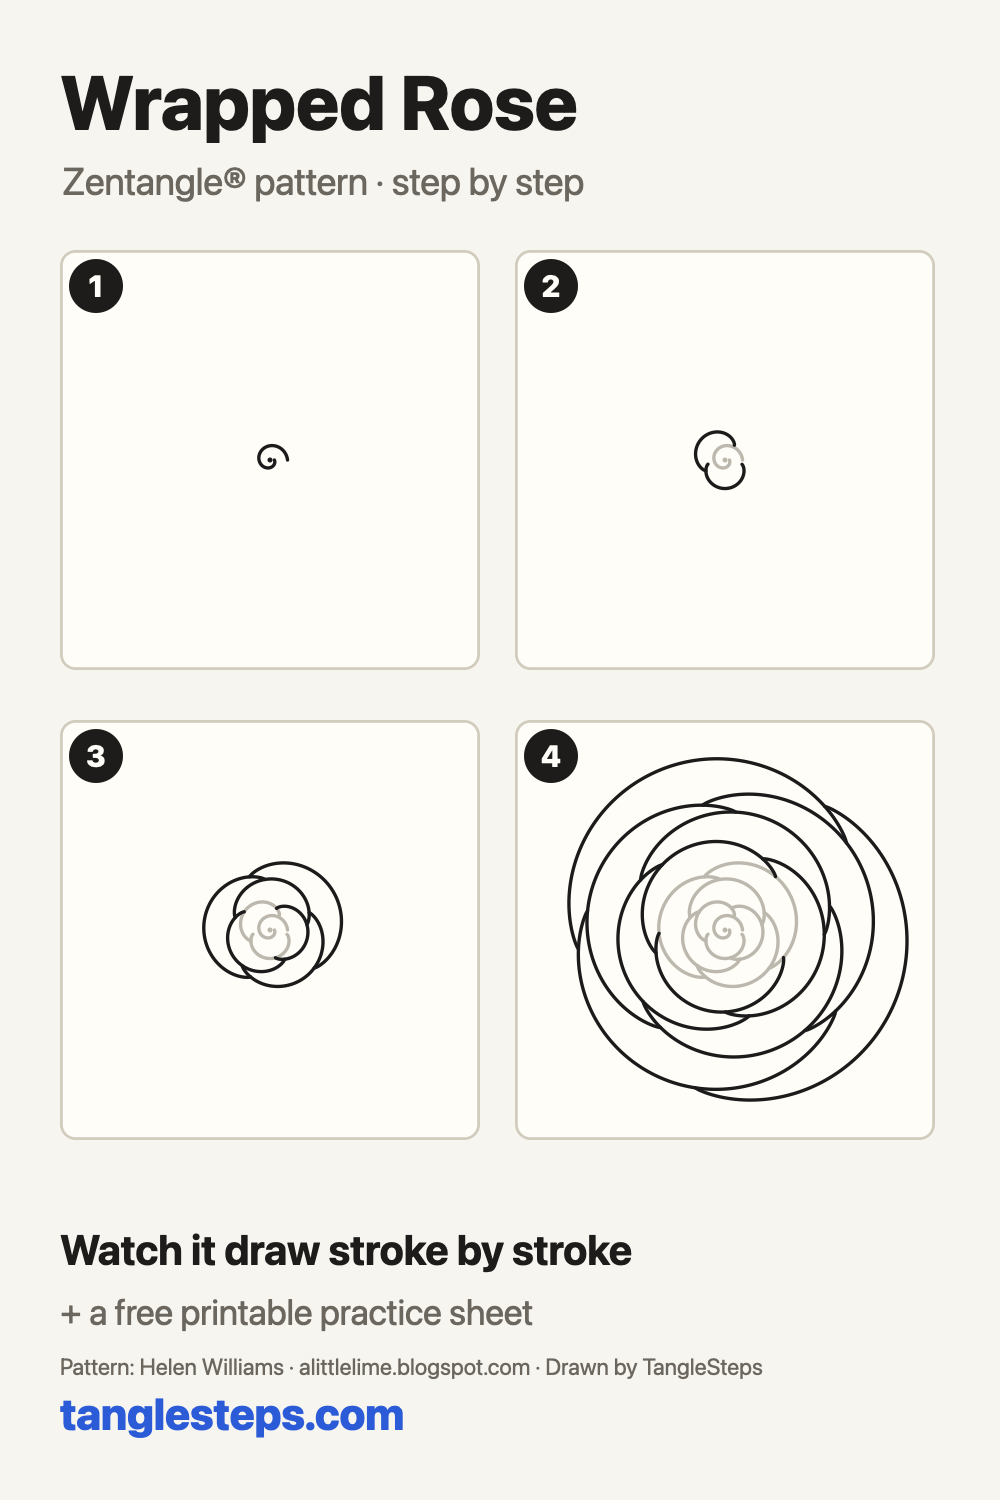
Place a small dot and curl a loose spiral around it to make the center.
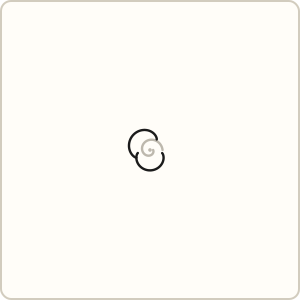 Step 2
Draw two curved petals around different sides of the spiral. Begin and end each arc on the existing outline.
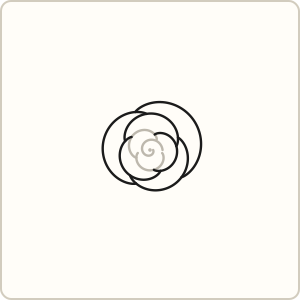 Step 3
Add six more petals, moving around the flower. Let each arc bow out beyond the previous edge and return to it.
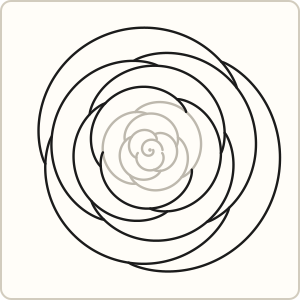 Step 4
Continue wrapping larger petals around the outside until the rose reaches the size you want. This example uses nineteen petal arcs.
Common Wrapped Rose mistakes and how to fix them
- Petals cross the earlier lines. Keep each new arc outside the existing flower, with its ends on the edge.
- The flower becomes a set of concentric circles. Shift the starting point of each petal around the flower and leave visible joins.
Tips for a neat Wrapped Rose
- Rotate the paper after each petal so you can draw a relaxed arc.
- Start and stop on the outer edge; avoid drawing through the center.
- Vary petal widths slightly for a less mechanical flower. Optional pencil shading belongs near the overlapping edges.
Wrapped Rose variations
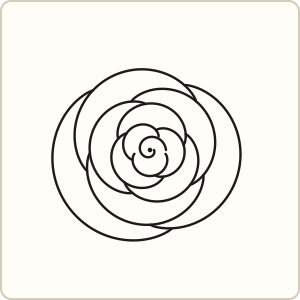
- Use a small circle instead of a spiral for the center.
Tangles that pair well with Wrapped Rose
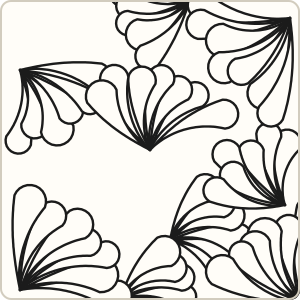 Flux leaf-like lobes around a flower
 Mooka curled pods complement the rose
 Tipple small circles fill the background without competing with the flower
Wrapped Rose step-out chart
All the steps on one image, handy for a sketchbook or a classroom wall.
More tangles to learn
 Hearts & Diamonds
 Queen B
 Trumpets
 Way Knot
 Crescent Moon
 Printemps
Page updated .