Zentangle patterns › Zentangle art › Turtle
Zentangle®-Inspired Turtle: Free Template and Step-by-Step Guide
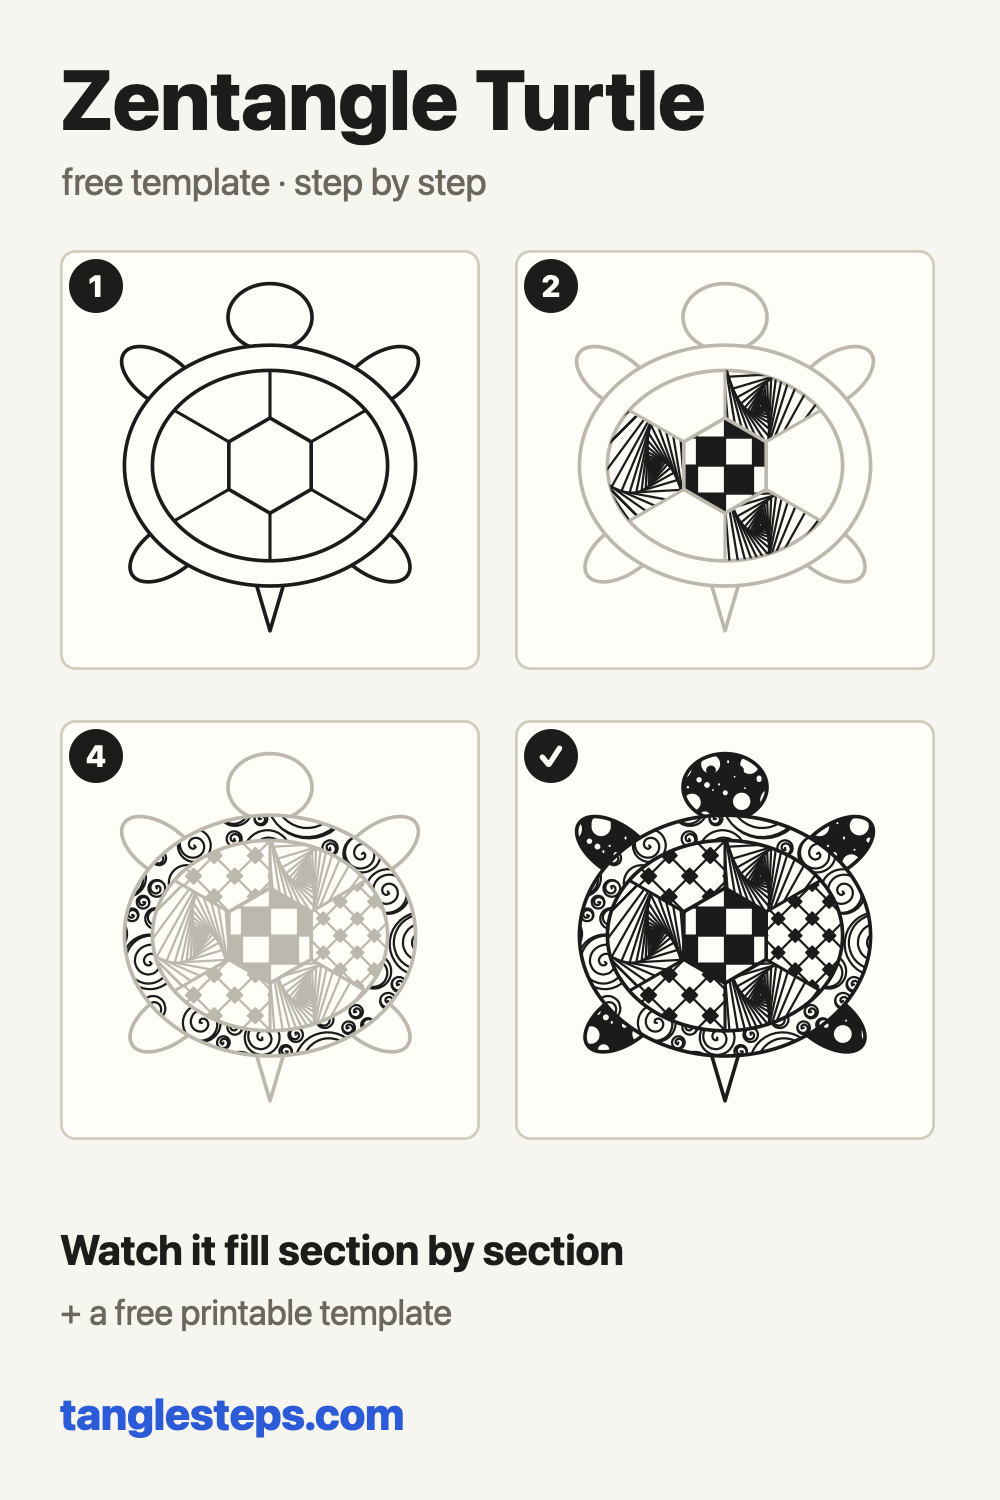
A turtle seen from above has its sections built in: the shell plates. The centre plate, the ring of plates around it and the rim of the shell each take a tangle, while the head and flippers get a simple filler.
Part of our zentangle animals collection: 13 animals, each with a free template and a coloring page.
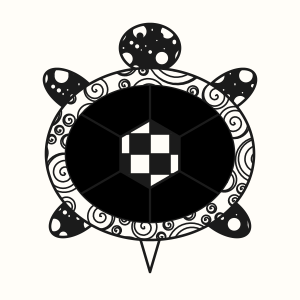
Draw the outline: an oval shell with a rim, a hexagon plate in the middle, six plates around it, the head, four flippers and a tail.
Watch the turtle fill up one section at a time, then print the blank template and tangle your own.
How to draw a zentangle turtle, step by step
 Step 1
Draw the outline: an oval shell with a rim, a hexagon plate in the middle, six plates around it, the head, four flippers and a tail.
 Step 2
Fill the centre plate with Knightsbridge and every other outer plate with Paradox.
 Step 3
Fill the remaining outer plates with Florz.
 Step 4
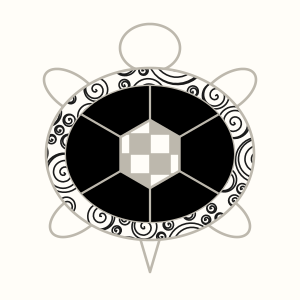
Fill the rim of the shell with Printemps.
 Step 5
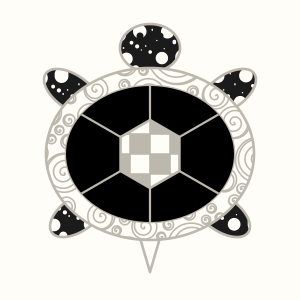
Fill the head and flippers with Tipple and add the eyes.
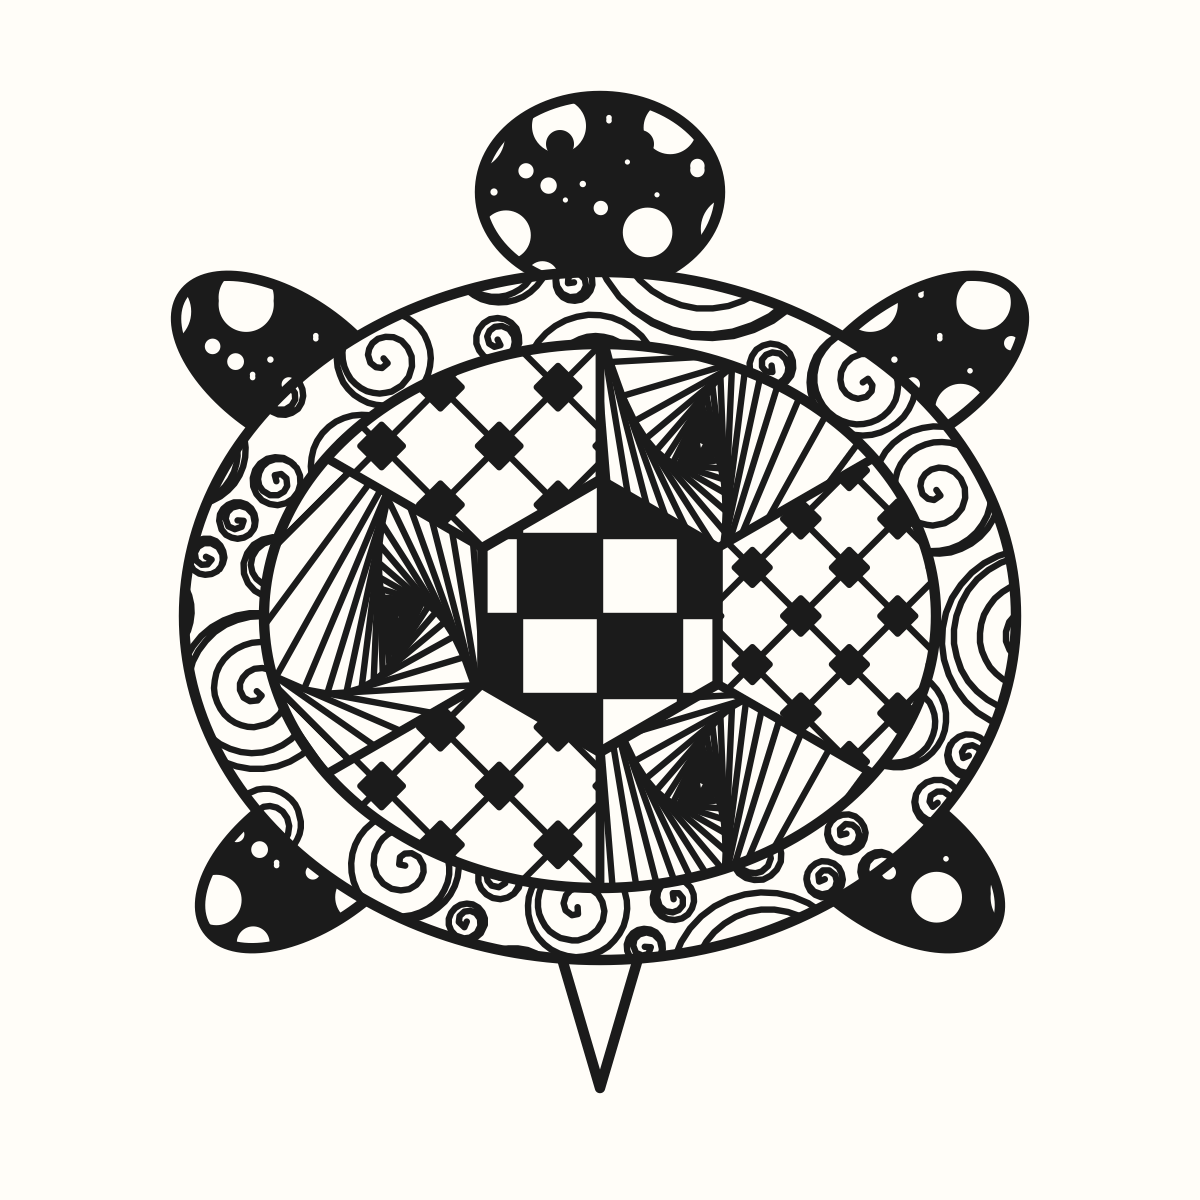
Tangles used in this turtle
Each one has its own step-by-step page with an animation and a practice sheet. Learn them first, or swap in your favourites.
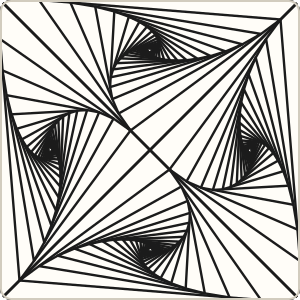 Paradox Intermediate · 3 steps
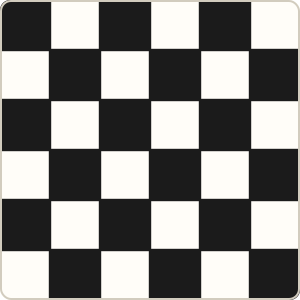 Knightsbridge Beginner · 3 steps
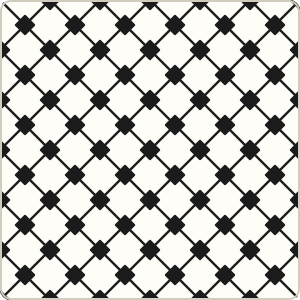 Florz Beginner · 4 steps
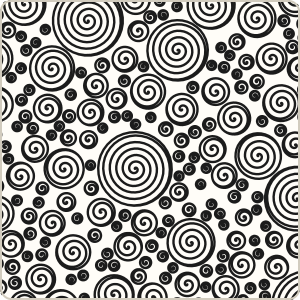 Printemps Beginner · 4 steps
 Tipple Beginner · 4 steps
Ideas to make it your own
- Use one tangle on every plate for a calm, even shell, and save the contrast for the rim.
- Give each of the six outer plates a different tangle as a sampler of everything you have learned.
- Draw a few fish or bubbles around the turtle and fill them with Tipple.
- Colour the plates in greens and teals after the ink is dry.
Tips for tangling a shape
- Draw the outline and strings in pencil first, then ink the outline. Pencil strings can stay; they disappear under the tangles.
- Put a dark tangle next to a light one so neighbouring sections stay easy to tell apart.
- Let each tangle stop at the section line. Turning the paper as you go makes this much easier.
- Finish with a little pencil shading along the section lines to give the shape depth.
Zentangle turtle step-out chart
All the steps on one image, handy for a sketchbook or a classroom wall.
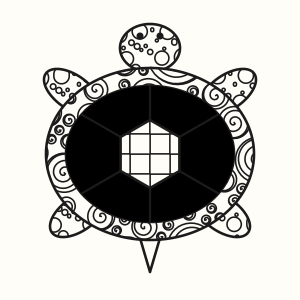
Zentangle turtle coloring page
Not in the mood to draw? Print the finished turtle as a coloring page instead. The solid black parts are left open, so every section can take colour. Markers, coloured pencils and gel pens all work.
Questions
Why use a hexagon in the middle?
Real turtle shells have a centre row of plates surrounded by side plates. A hexagon with six plates around it is a simple version that gives you seven neat sections.
Can I draw the turtle from the side instead?
Yes. A side view gives you a dome-shaped shell; split it with curved strings in the same way and fill each section.
 Butterfly
 Fish
 Cat
 Owl
 Elephant
 Bunny